
At IDR Solutions I mainly work on the Development of the JPedal Java PDF Library and PDF to HTML5 Converter. Recently I have also spent a lot of time studying the cloud and thought it might be useful to create some guides on how to use various cloud platforms with the NetBeans IDE.
Last time I wrote about ‘How to use the Microsoft Azure cloud on the NetBeans IDE‘, this time I will take you through using Oracle Public Cloud with the NetBeans IDE. To test our applications locally we are going to use the Weblogic 12c server, which I will take you through how to install if you haven’t got it already.
You may have guessed that we use the NetBeans IDE here at IDR Solutions. The Oracle Public Cloud is made up of several components but we only use the Java Cloud Service. This tutorial assumes that you have your Java Cloud service set up and want to be able to test applications locally and deploy to the cloud server. We will be using the Weblogic 12c server both locally and on the Java Cloud Service. I use a Windows system so any commands or steps ma slightly differ for other operating systems.
What you will need before you start:
- – Java 7 and 8 JDKs installed. Make sure you set the JDK 8 as your JAVA_HOME environment variable. On Windows you can do this by going to your control panel, System and selecting Advanced System Settings. From there select Environmental Variables and click the New button in the System Variable section. Then enter JAVA_HOME for the variable and the path to our Java 8 JDK folder. If you have C:\ProgramData\Oracle\Java\javapath in your path, then this could potentially cause you problems as it may reference a JRE (Java Runtime Environment). I deleted this from my path but if you do not wish to do this then just navigate to your JDK directory when and run any Java commands.
- – NetBeans IDE
- – Oracle Java Cloud Service set up
1. Download and install WebLogic 12c
First things first you need to download the Generic WebLogic 12c server from: here. Once you have accepted the terms and conditions you can go down to the Oracle WebLogic Server 12.1.3 section then download your Generic installer.

Once you have unzipped the folder, move the jar to your Documents directory.
Now open a command prompt and cd into your document and execute the jar using the below command.
![]()
This will open a window where we will configure our server. Leave the defaults for the Welcome and Auto Updates steps. For this next step you will have to create a folder in your C drive called Oracle and set that location for your Oracle Home in the Installation Location step.
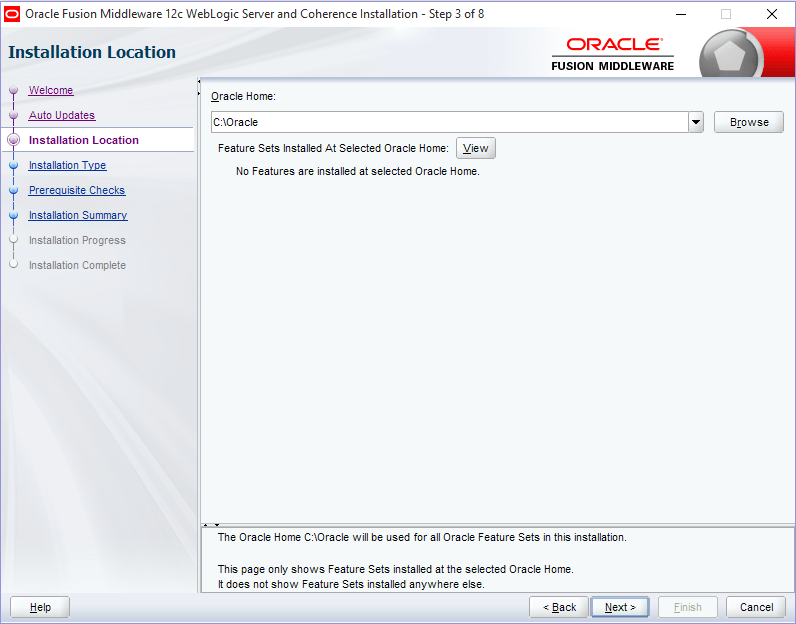
On Installation Type select either WebLogic Server or Complete With Examples and select Next. On the Security Updates you will need to provide an email address. Click Next and Install. Once the progress bar reaches 100% click Finish which will open the Middleware Configuration Wizard.
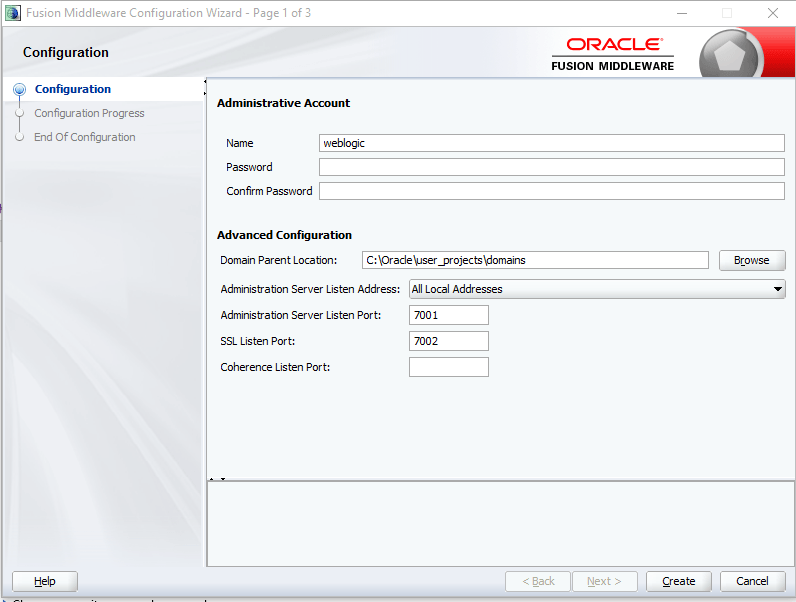
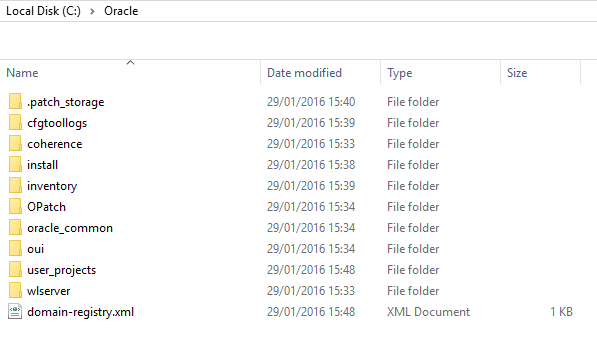
Leave the name as weblogic and enter a Password and confirmation Password. Make sure the password is at least 8 characters long with at least one number or special character. Click Create and close the wizard. Your Oracle directory should now look like this:
2. Set up a WebLogic domain
Now that we have WebLogic installed we can create a domain. You can create multiple domains with different settings e.g. one for Java 8, one for Java 7, etc. To do this navigate to C:\Oracle\oracle-common\common\bin in your terminal and run config.cmd.
In Windows you can do this by double clicking it in the File Explorer or just typing config.cmd in the terminal when you are in the correct directory. For Mac/Linux use 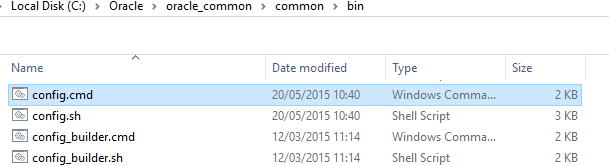
In the wizard that has now opened up leave Create a new domain ticked and rename base_domain to what you would like your new domain to be called. I’m calling mine java7Domain.
Click Next until you get to the Administrator Account page. When there create a new administrator password for this specific domain. Same password restrictions apply as before. Make a record of this username and password because these will be used to create your server instance for the NetBeans IDE i the next step.
On the Domain Mode and JDK step you will need to check the specified JDK version. Leave the default JDK 8 selected.
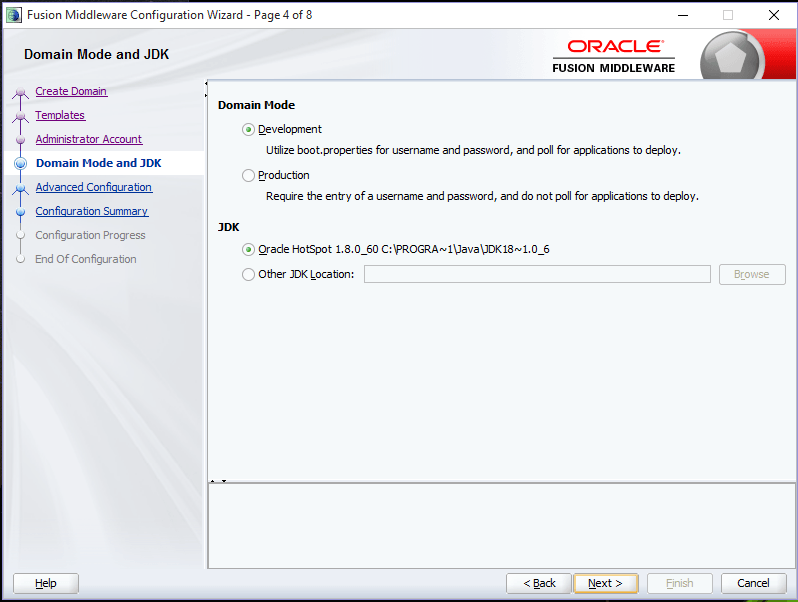
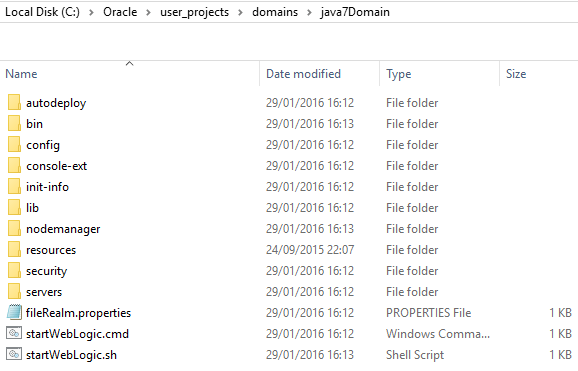
Accept the rest of the defaults and click Create, Next and then Finish. Your domain should now have been created in C:\Oracle\user_projects\domains and should look something similar to this:
3. Add a WebLogic service instance to NetBeans
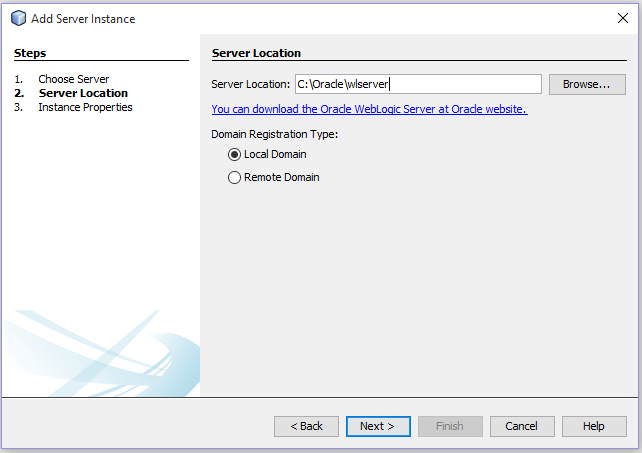
Open NetBeans and navigate to the Services window. Then right click on Servers and select Add Server. In the wizard select your server as an Oracle WebLogic Server and click Next. For the Server Location make sure this is set to C:\Oracle\wlserver.
On the Instance Properties step change you domain to point to the domain we created in step 2 and enter your username ad password.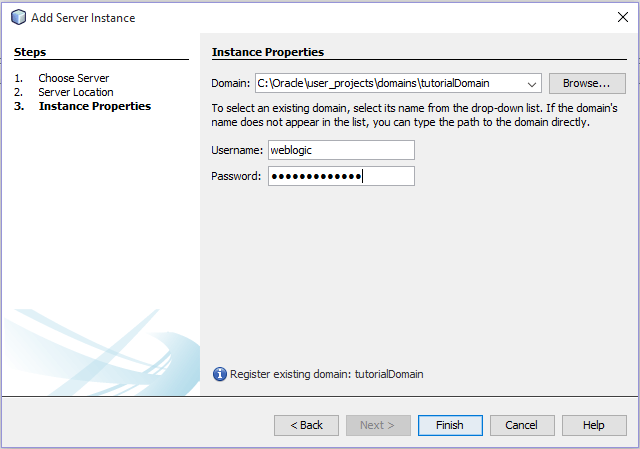
Click Finish and you will have a new WebLogic server node under Servers in your Services window. Right click your new WebLogic Server and click Start.
4. Create a WebLogic Application
Right click in your Projects view and select New Project. From there choose Web Application from the Java Web category and click Next.
Give your project a name and click Next. One the Server and Settings screen make the server Oracle WebLogic Server and change the Java EE Version to Java EE 6 Web. Click Finish.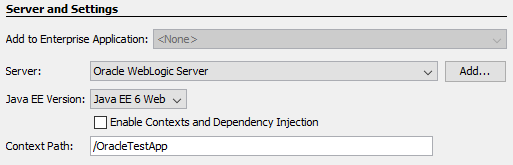
Our Oracle Java Cloud runs Java 7 but at the moment our application is set up for Java 8. The latest version of WebLogic (12.2.1) insists on using Java 8 so that is why we set up the domain with it. In NetBeans though we can change how individual projects are built and which libraries they use, so we can make the application Java 7.
Right click your Project’s top most node and select Properties. On the first screen you should see a Source/Binary Format section. Select JDK 1.7 here.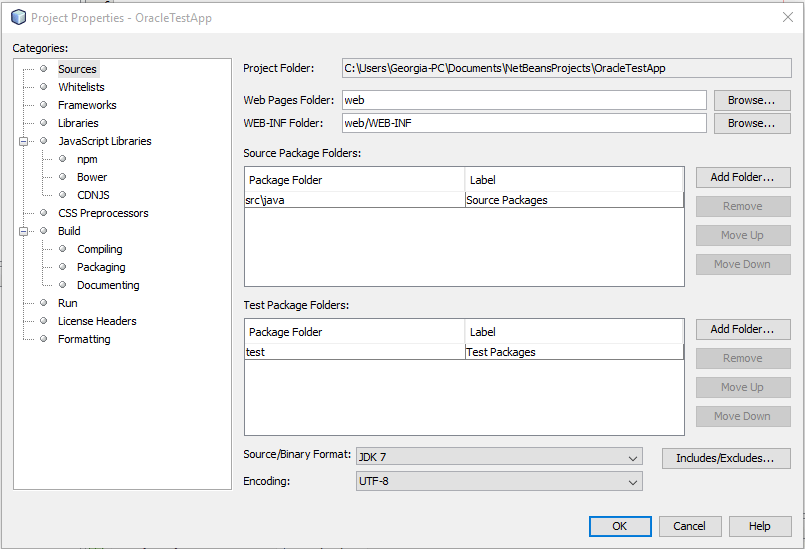
You also have to change the libraries used to build the project. To do this select the Libraries tab and change the Java Platform to JDK 7.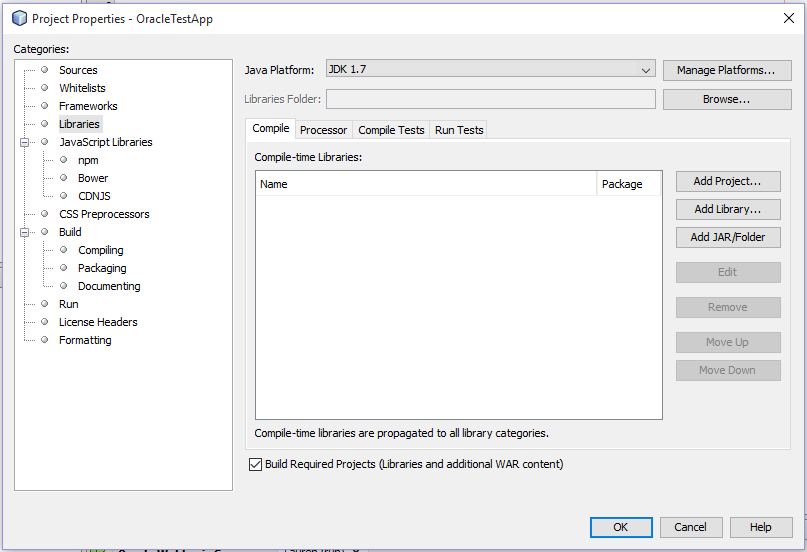
5. Test Locally
Now we have created a very basic/default web application that will run on a local server instance. To test this locally is very simple. Right click the project and select Run.
6. Create a WAR
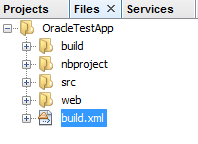
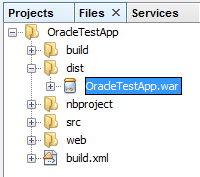
Now we want to create a War file which we will upload to the Oracle Java Cloud. For those of you who aren’t too familiar with War (Web application ARchive) files, they are basically Jars for the web. To create one for your project, go to your Files view and right click on build.xml and select Run Target and then dist.
This will create a new directory called dist which will contain your War.
7. Upload the War to the Oracle Java Cloud
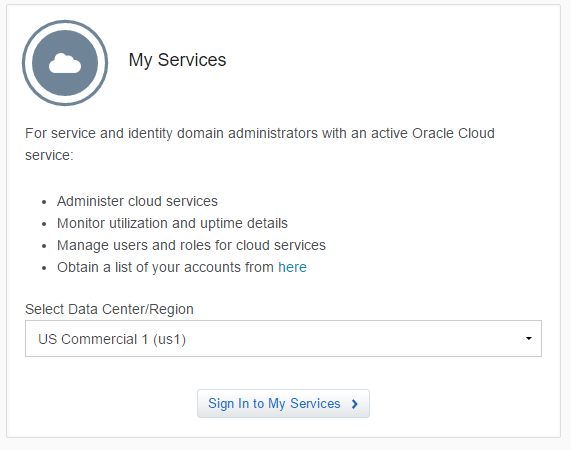
We will upload a war using the WebLogic console for our Java Cloud Service. To open this navigate to your Java Cloud Service. You should sign into your services from this link: https://cloud.oracle.com/en_US/sign-in. Make sure you select the correct data region.
Once logged in locate your Java Cloud Service and select Service Console.
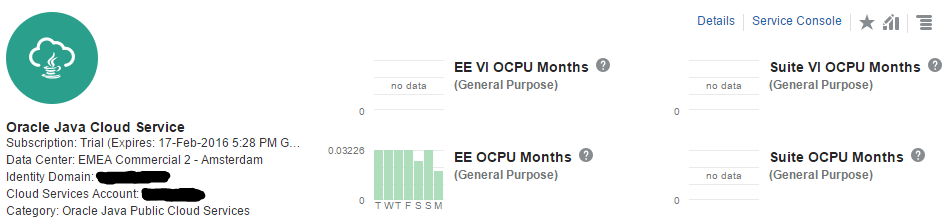
Next click the button on the right (I have highlighted it in yellow in the below screenshot) and select Open WebLogic Server Console.

Enter your WebLogic credentials, which you should have configured when creating your Java Cloud.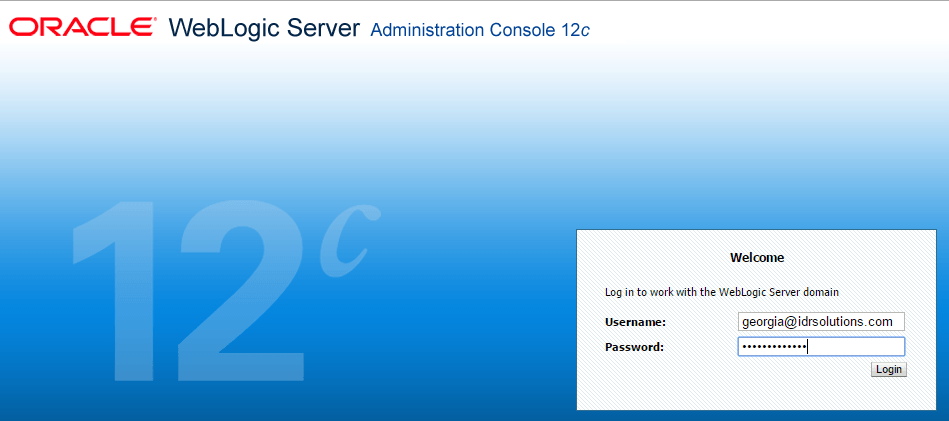
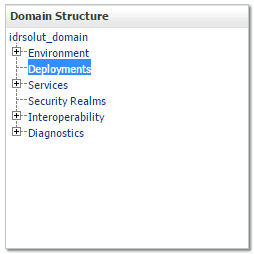
Once you have opened the console click Deployments in the Domain Structure section and then Lock & Edit. Clicking this button lets you change/update the server.
Now click the Install button.
Then select the upload you file(s) link.
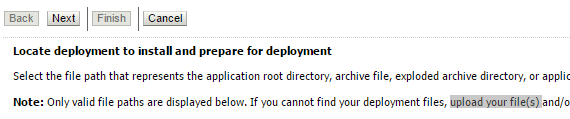
For the Deployment Archive navigate to your War file. Then Click Next.
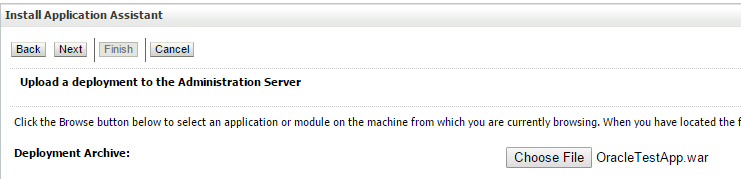
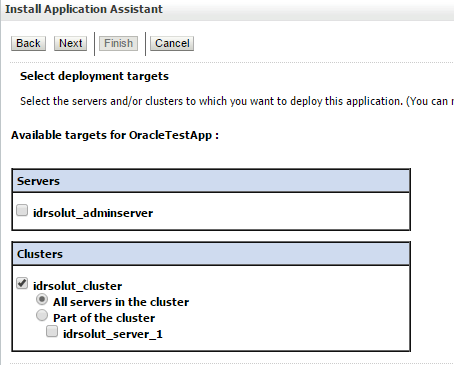
Leave Install this deployment as an application selected and click Next again. On the Select Deployment targets step select your top cluster as the target. Then click Next and Finish.
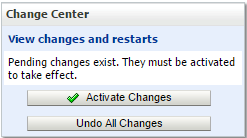
Now you need to update the server by clicking the Activate Changes button at the top left.
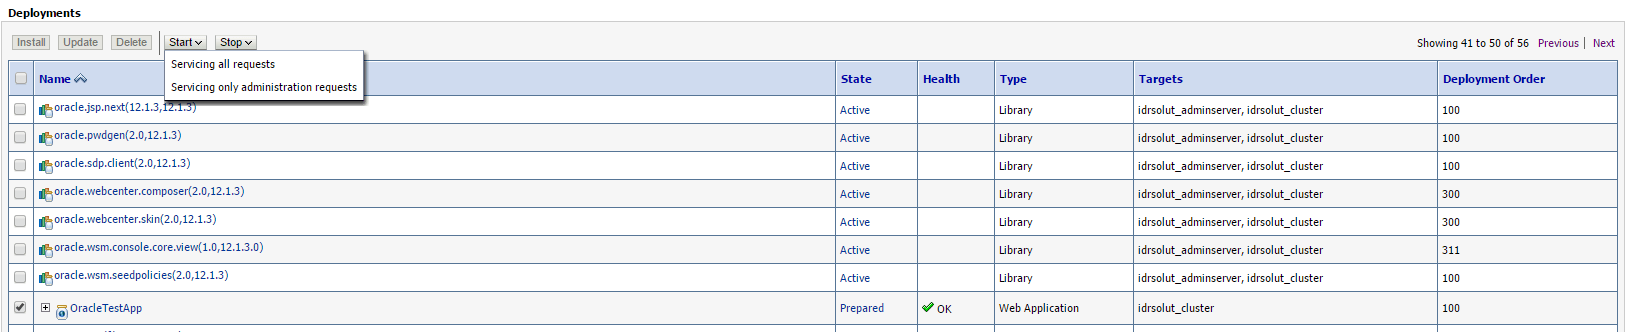
Now the central table should contain your web application. It is in alphabetical order so you may need to click Next on the right to find it. At the moment your app should be in its prepared state. To actually deploy it select the checkbox on it’s right, hit the Start button and select Servicing all requests. Then Select Yes on the Start Application Assistant. The applications state should now be Active.
8. Run your application
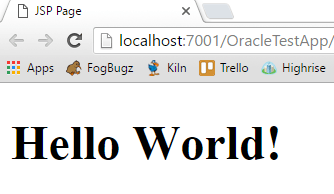
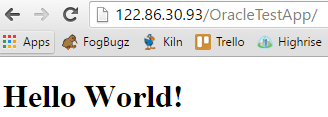
To run your application you need to run your servers ip address with the web applications context root on the end. By default the context root is the name of the application. For me the context root would be OracleTestApp. You can find your servers ip address by looking at the URL for your WebLogic Service Console. E.g. https://122.86.30.93:7002/console/console.portal?…
To run my application I would therefore type 122.86.30.93/OracleTestApp into my browser and voila. One tested and uploaded Java web application.
Our software libraries allow you to
| Convert PDF to HTML in Java |
| Convert PDF Forms to HTML5 in Java |
| Convert PDF Documents to an image in Java |
| Work with PDF Documents in Java |
| Read and Write AVIF, HEIC, WEBP and other image formats |