

Recently we have been joined by Rudairo J Chitsenga who has spent some time with us having completed a course in software testing. During her time with us, we covered several topics from evaluating multiple Service Desk and support systems to test servers and development. During this time Rudairo wrote the following blog article.
There are many different ways to set up a testing environment, one of them is by using an online automation server such as Jenkins. Jenkins allows you to build and test your jobs automatically.
How to Download and instal Jenkins?
Installing Jenkins is one of the easier tasks, they provide a nice big red button on their website which clearly states ‘download’.This is then followed by the option of deciding what kind of support you’d require from the software, whether it be a weekly or long term.How to Setup Jenkins?
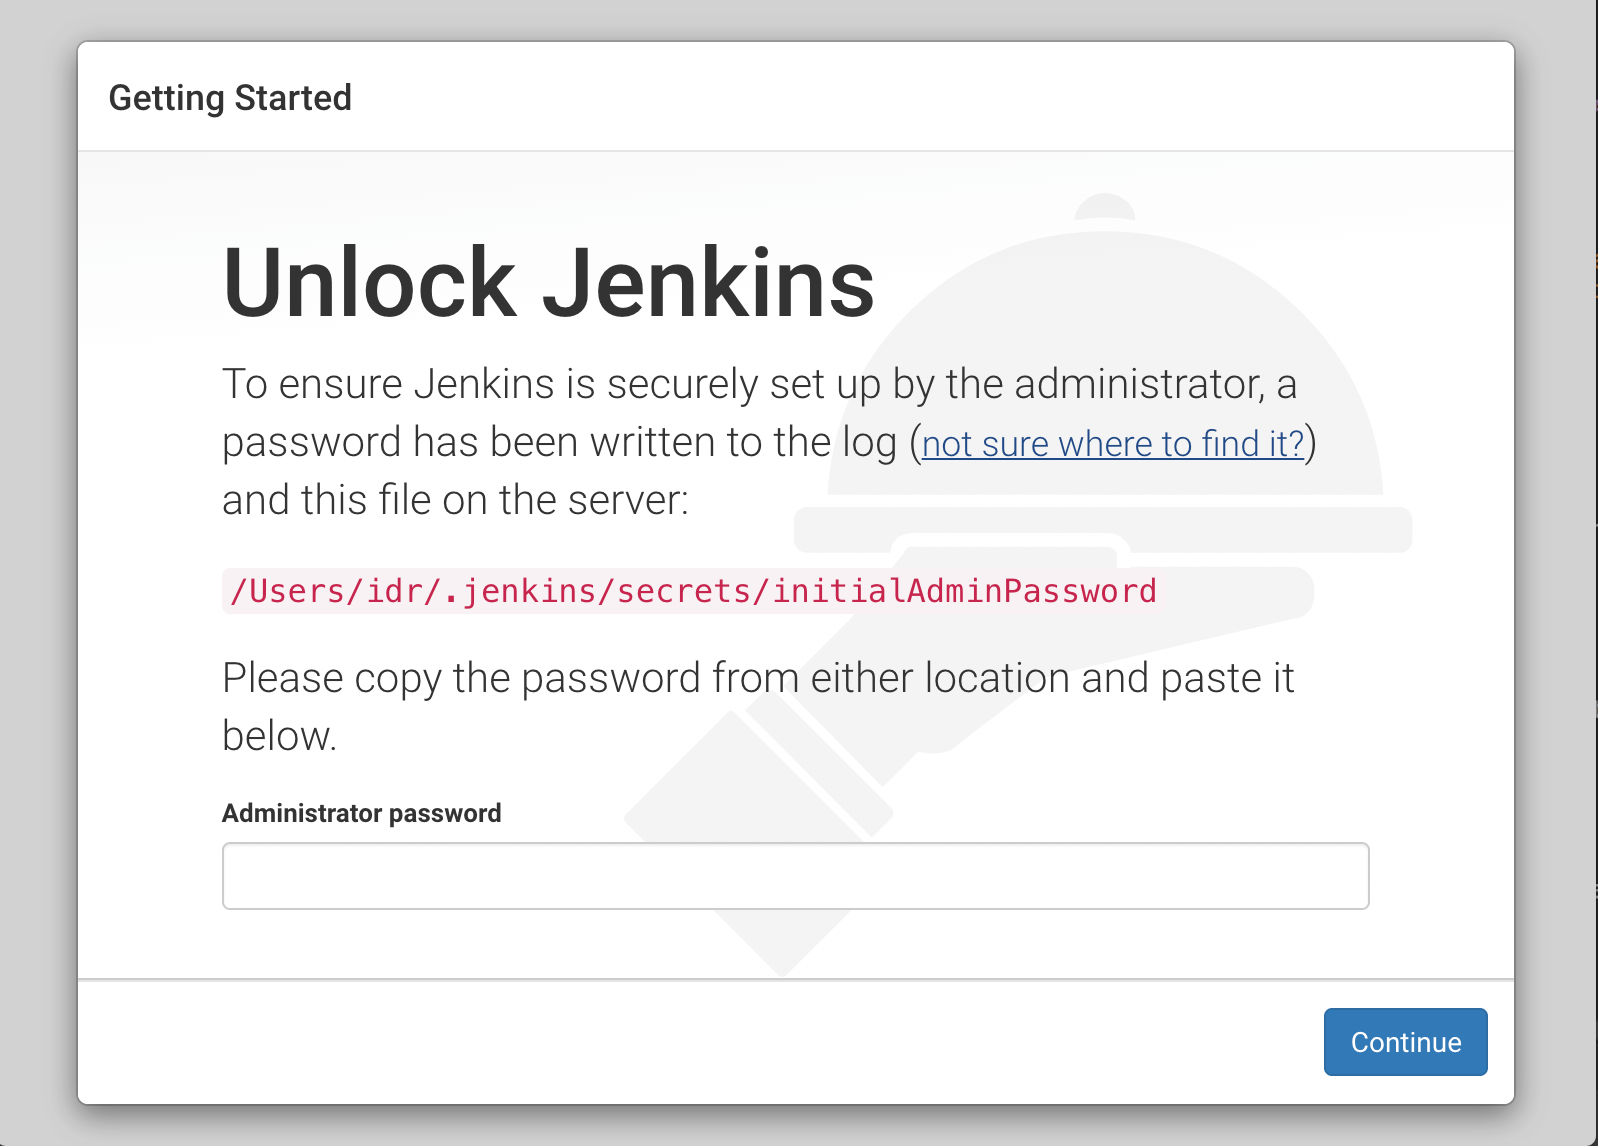
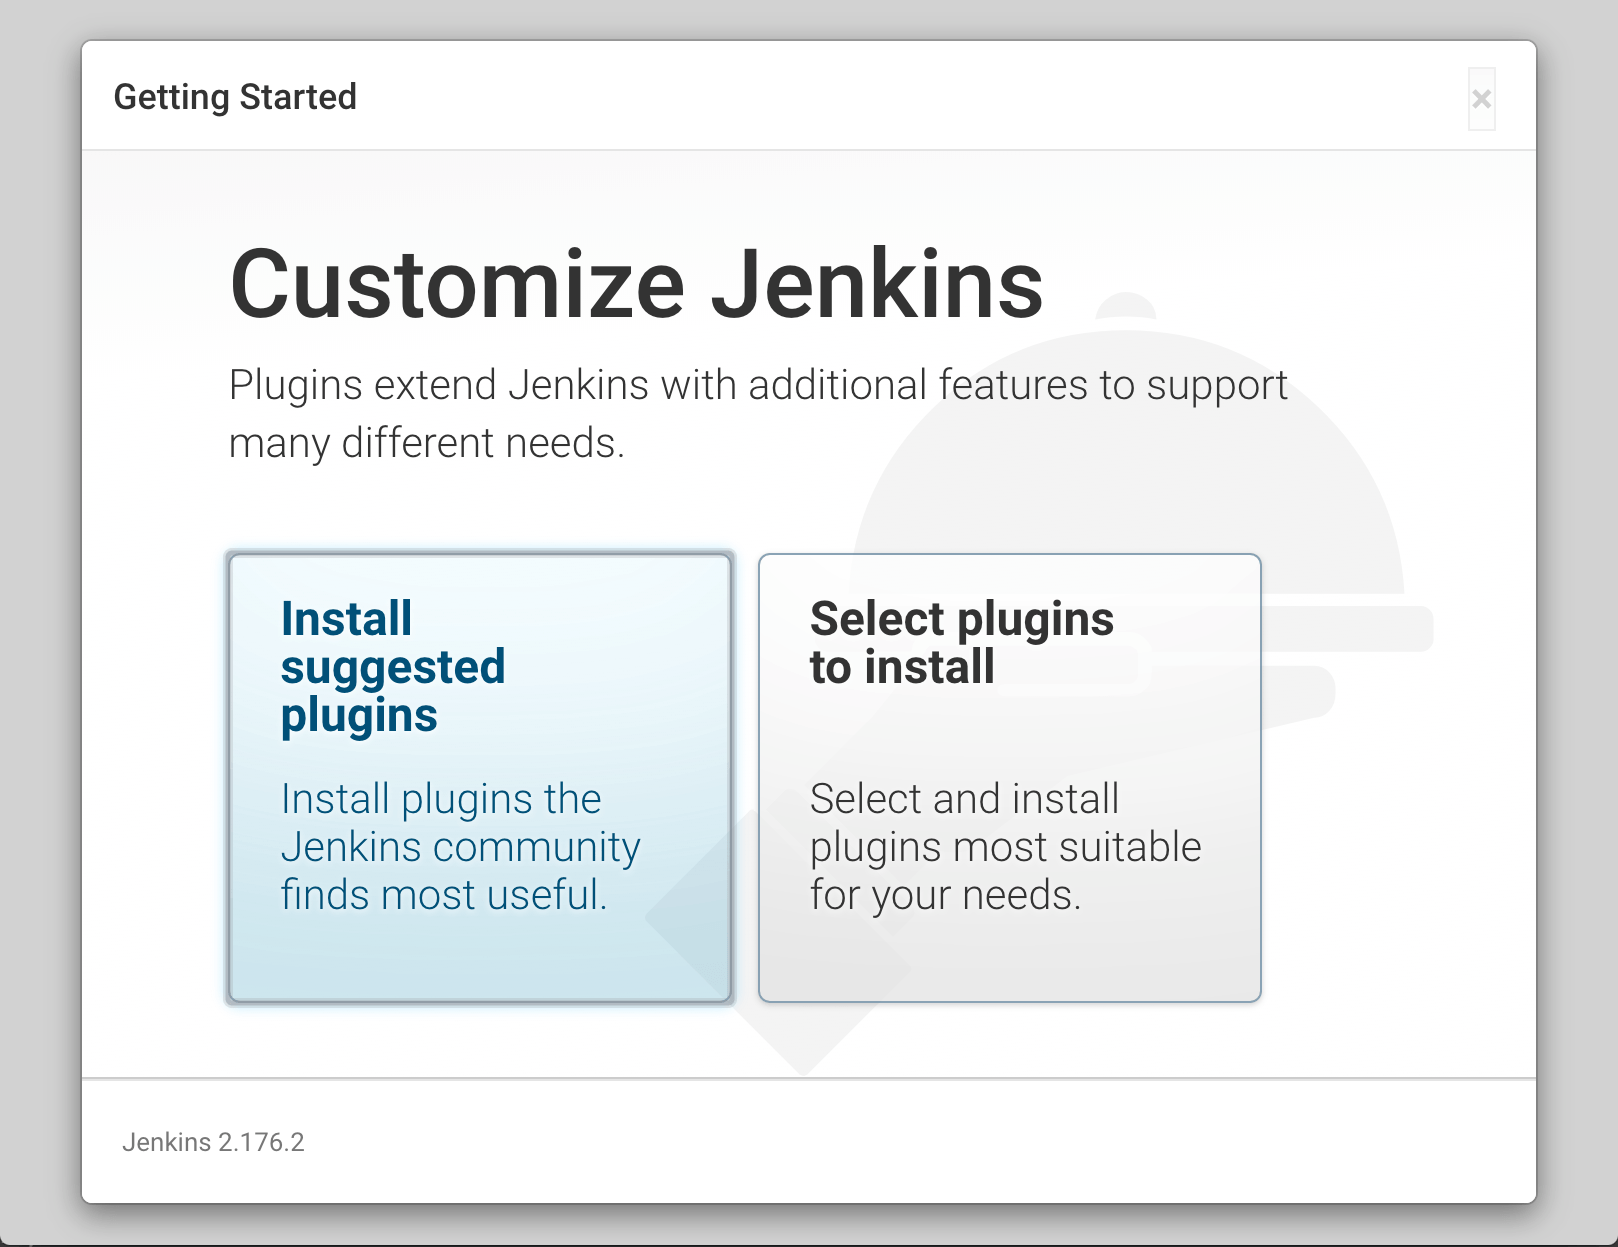
Once the software is fully installed on to your machine you are required to create an admin account. In order to create this account, Jenkins provides you with a URL as well as a secret file stored on your machine which contains the password for the Admin. Jenkins gives you the opportunity to create user accounts later on.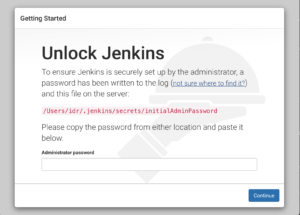 When your account is ready you’ll then be able to choose which plugins you’ll require. Jenkins can set this up for you automatically based on the most popular plugins, or you can choose your own based on what suits your project best. Being able to personalise your system is definitely a huge perk when using this server as it allows you to remove all the irrelevant features you’ll probably never use.
 Examples of two features these plugins prove include being able to sync with git, subversion, and Github and an email extension where the individual who submitted the code will be updated when a test passes or fails.You are now ready to create your test Jobs
How to use Jenkins?
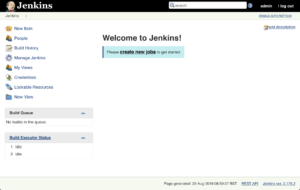
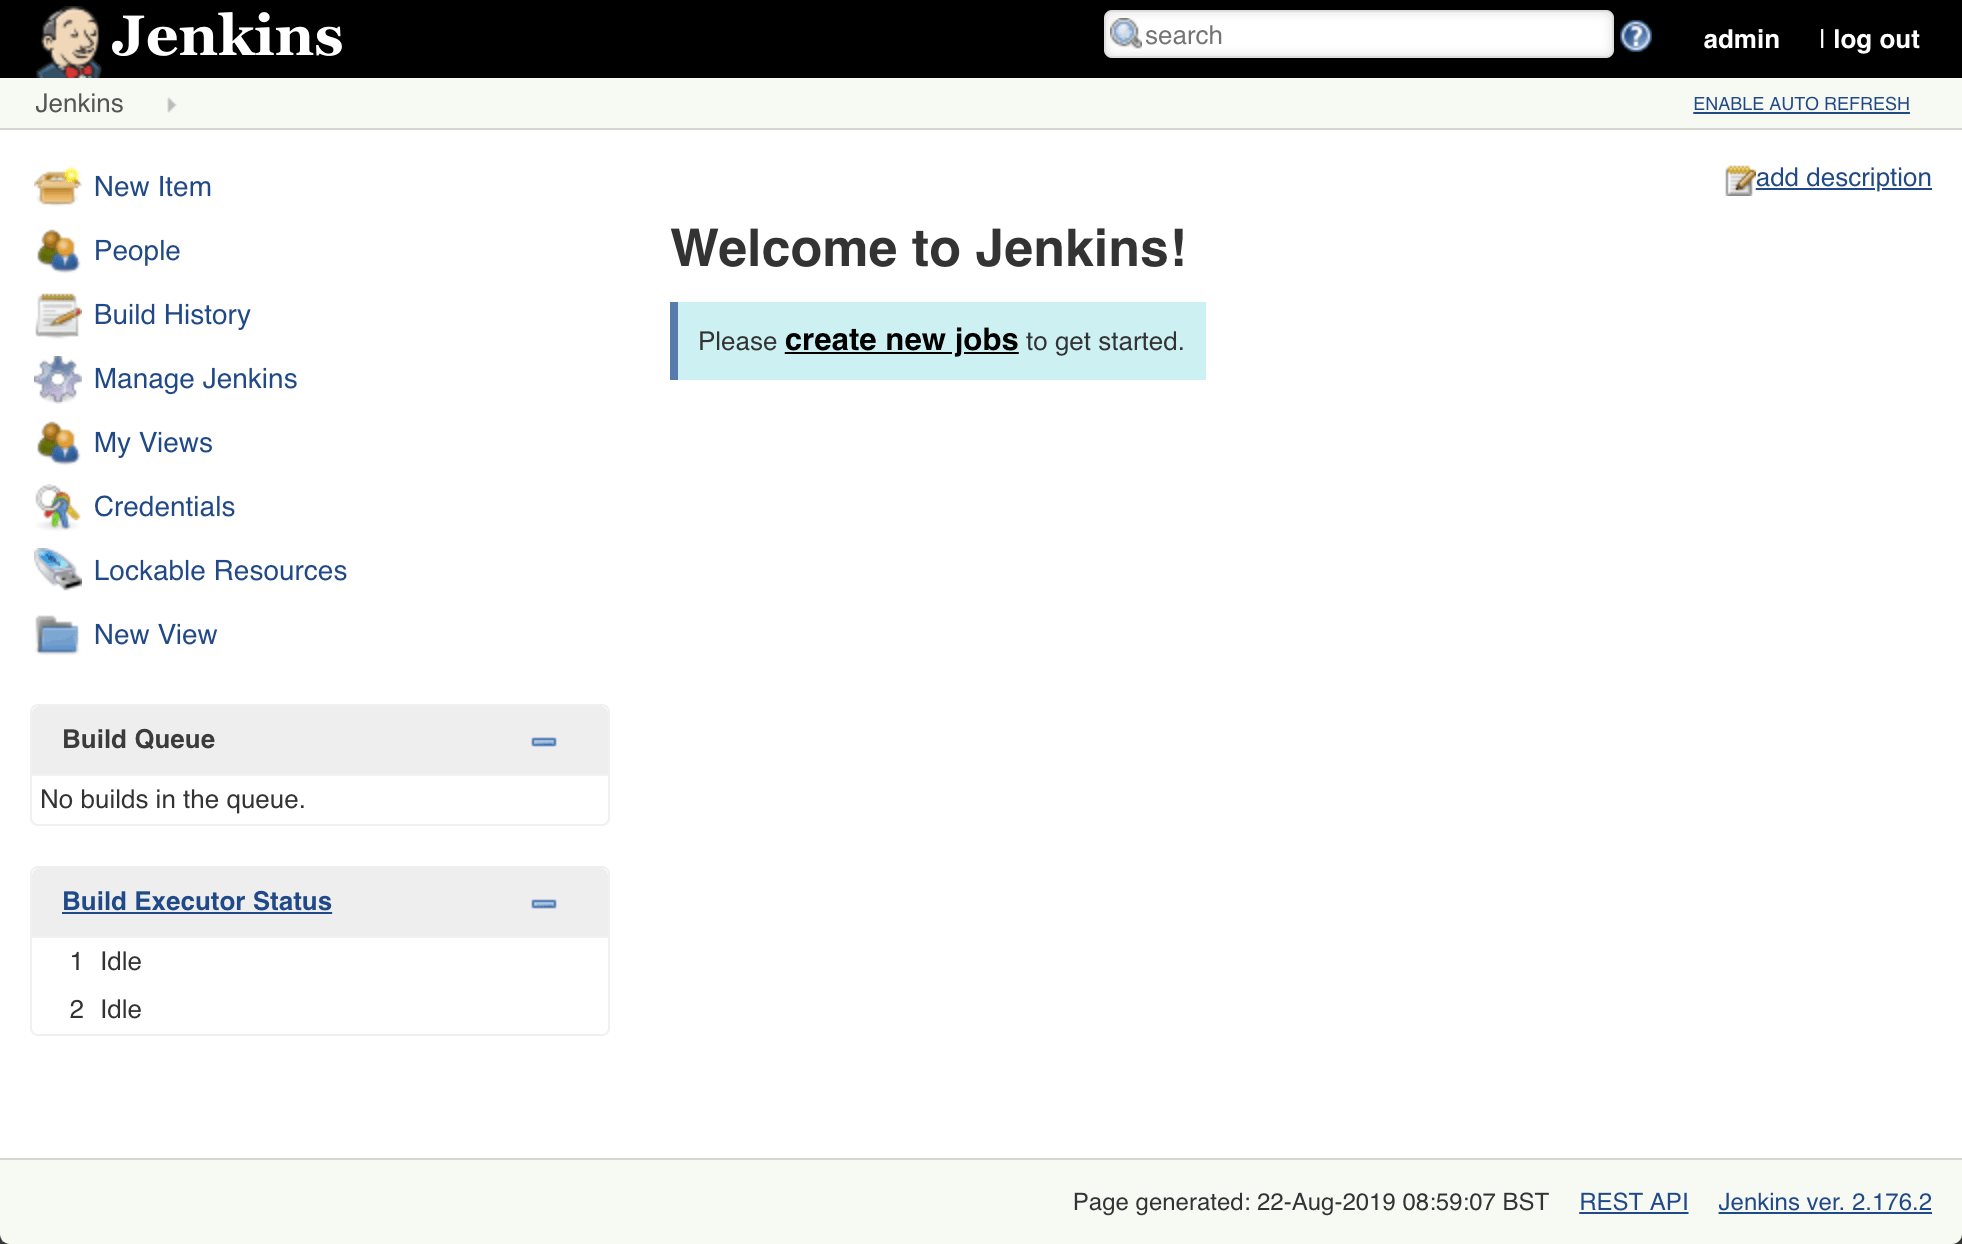
One of the general options you’ll have to decide when creating your job is deciding if your job will be freestyle or pipeline. During my first build I decided on freestyle where Jenkins will allow the job to do pretty much anything.
The next few steps of the process consists of picking out the features you will needing for you build. You are able to command Jenkins to discard old builds, disable builds which are currently failing. More advanced options were also available, such as quiet period to set a delay between queuing the job and executing and retry count that will automatically retry failed tests.
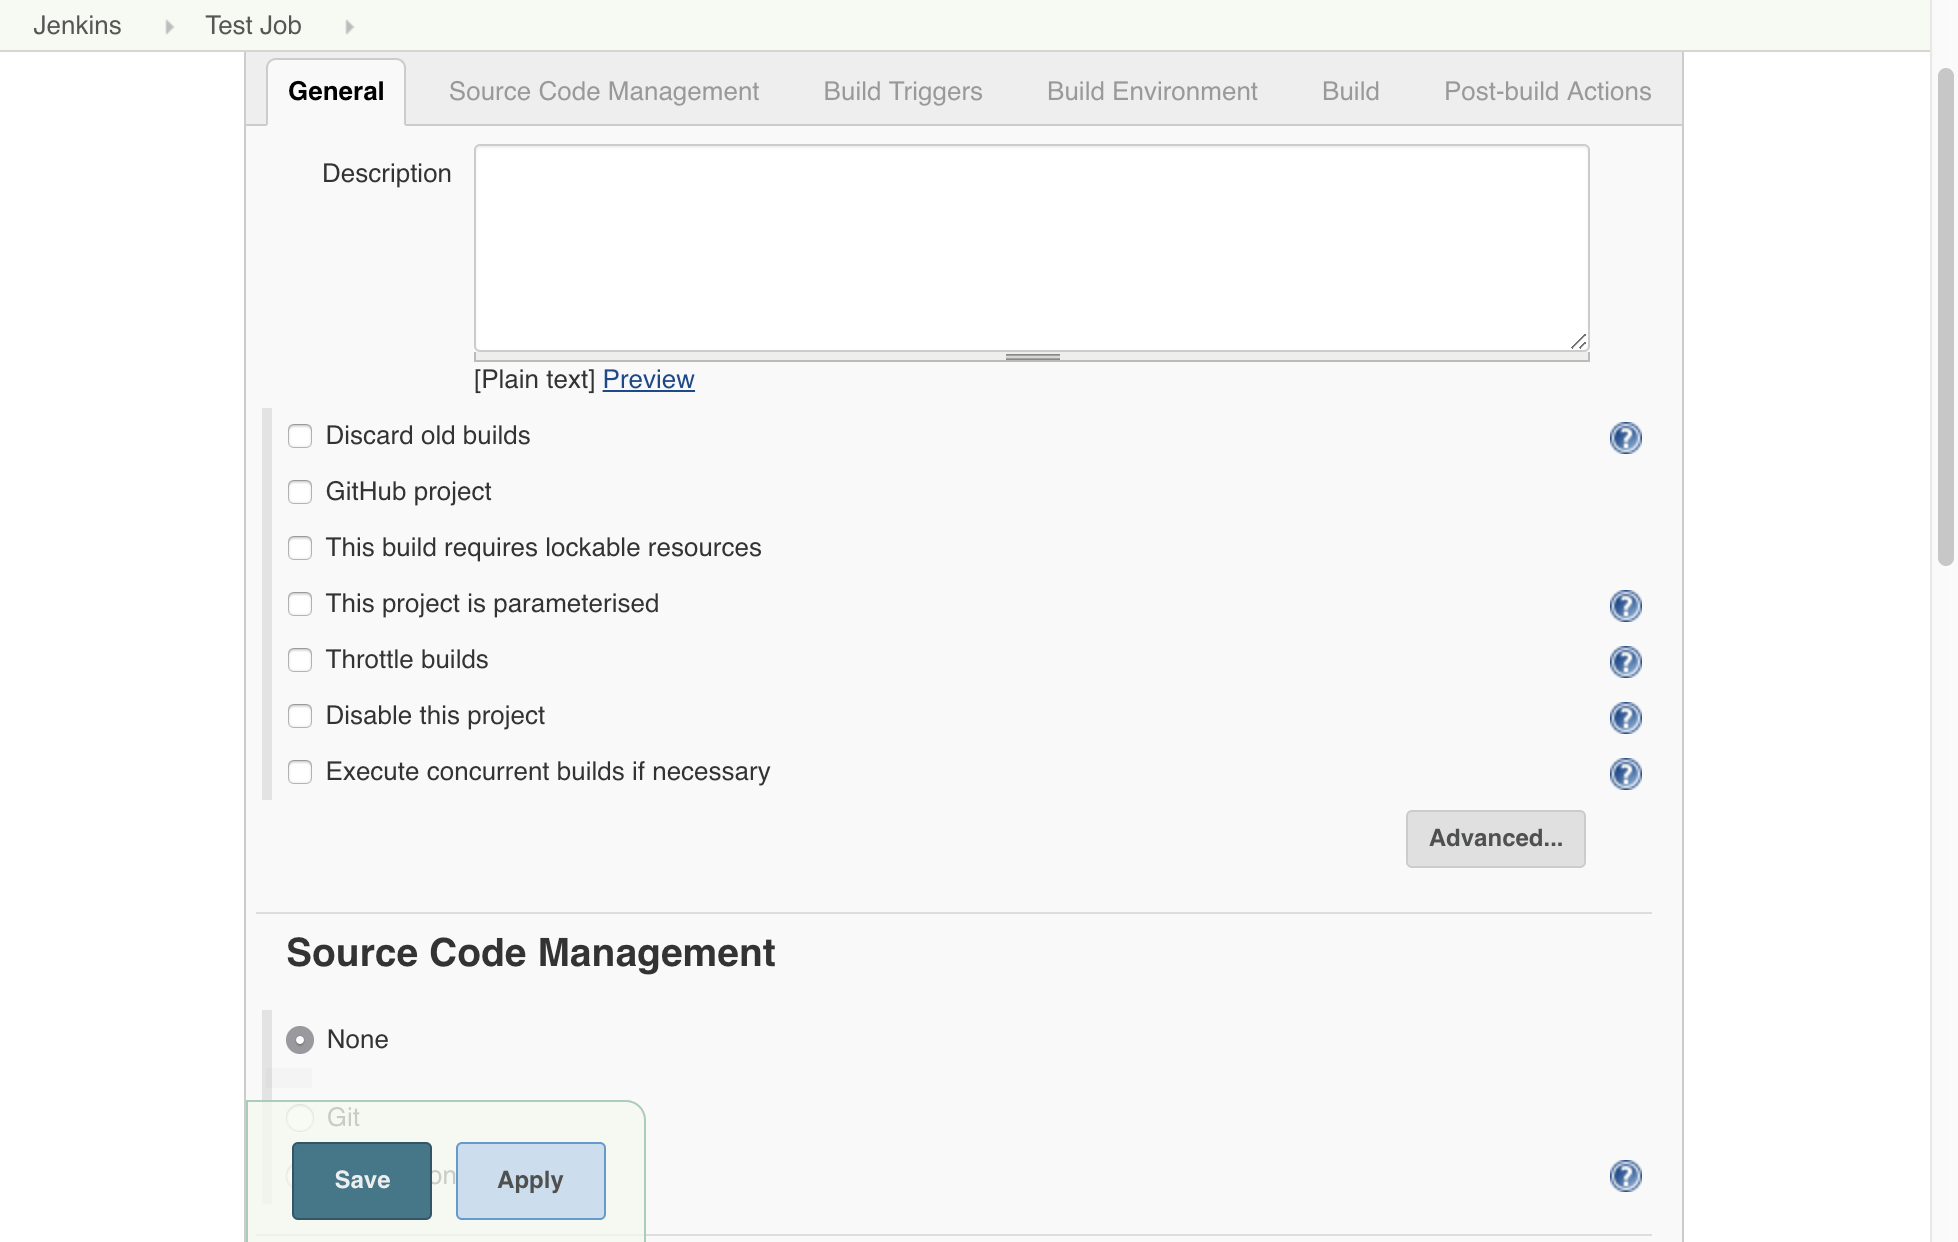
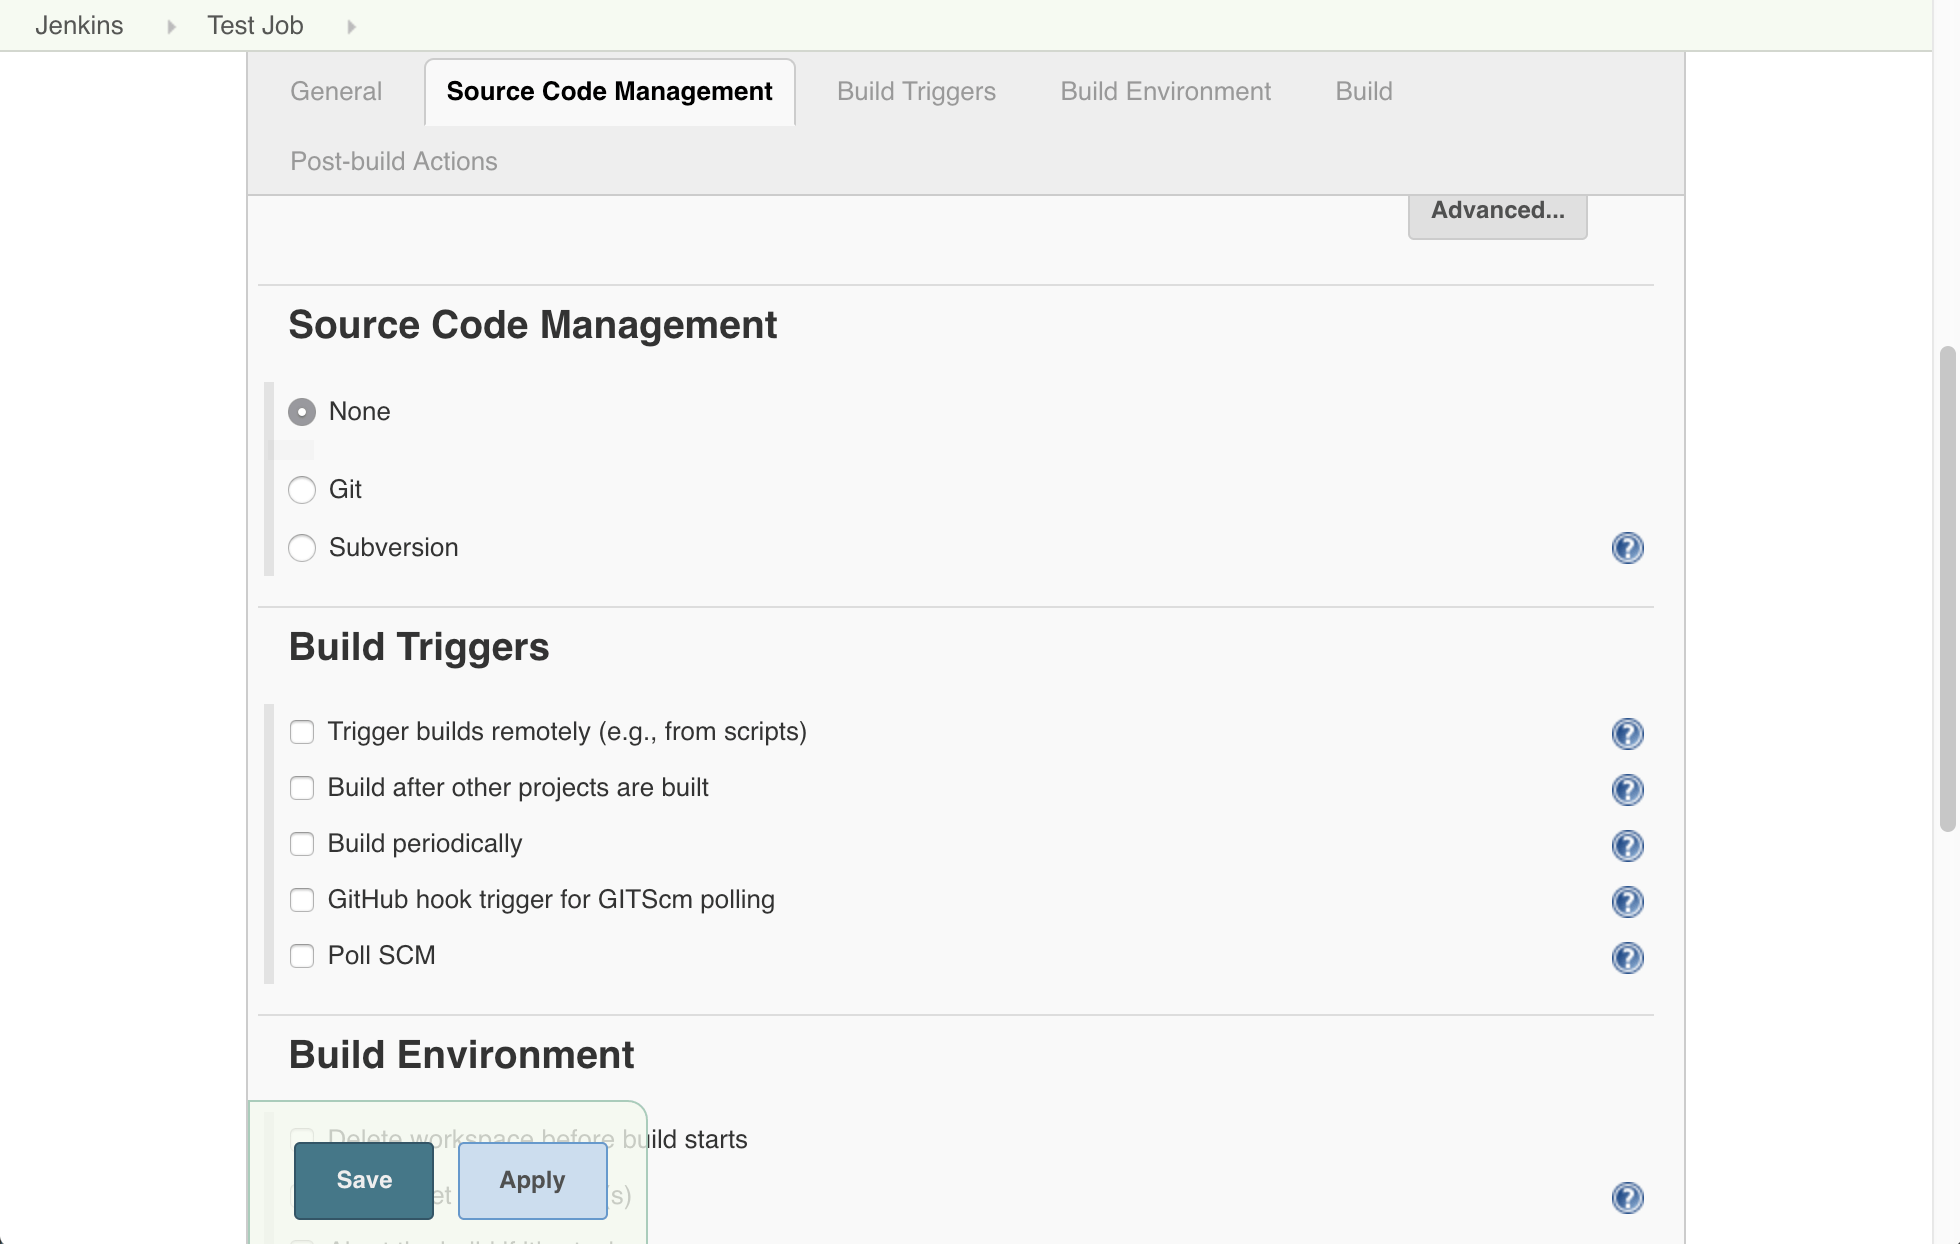
Source Code Management is also a feature that is available, this feature retrieves the most recent version of the code from your remote server. You’re also able to schedule when this is allowed to happen using syntax .
When building your job, you are again faced with many features you are able to implement into your build. For the main building environment, you are able to opt-in for features such as Abort build if stuck and Invoke-top-level Marvin targets.
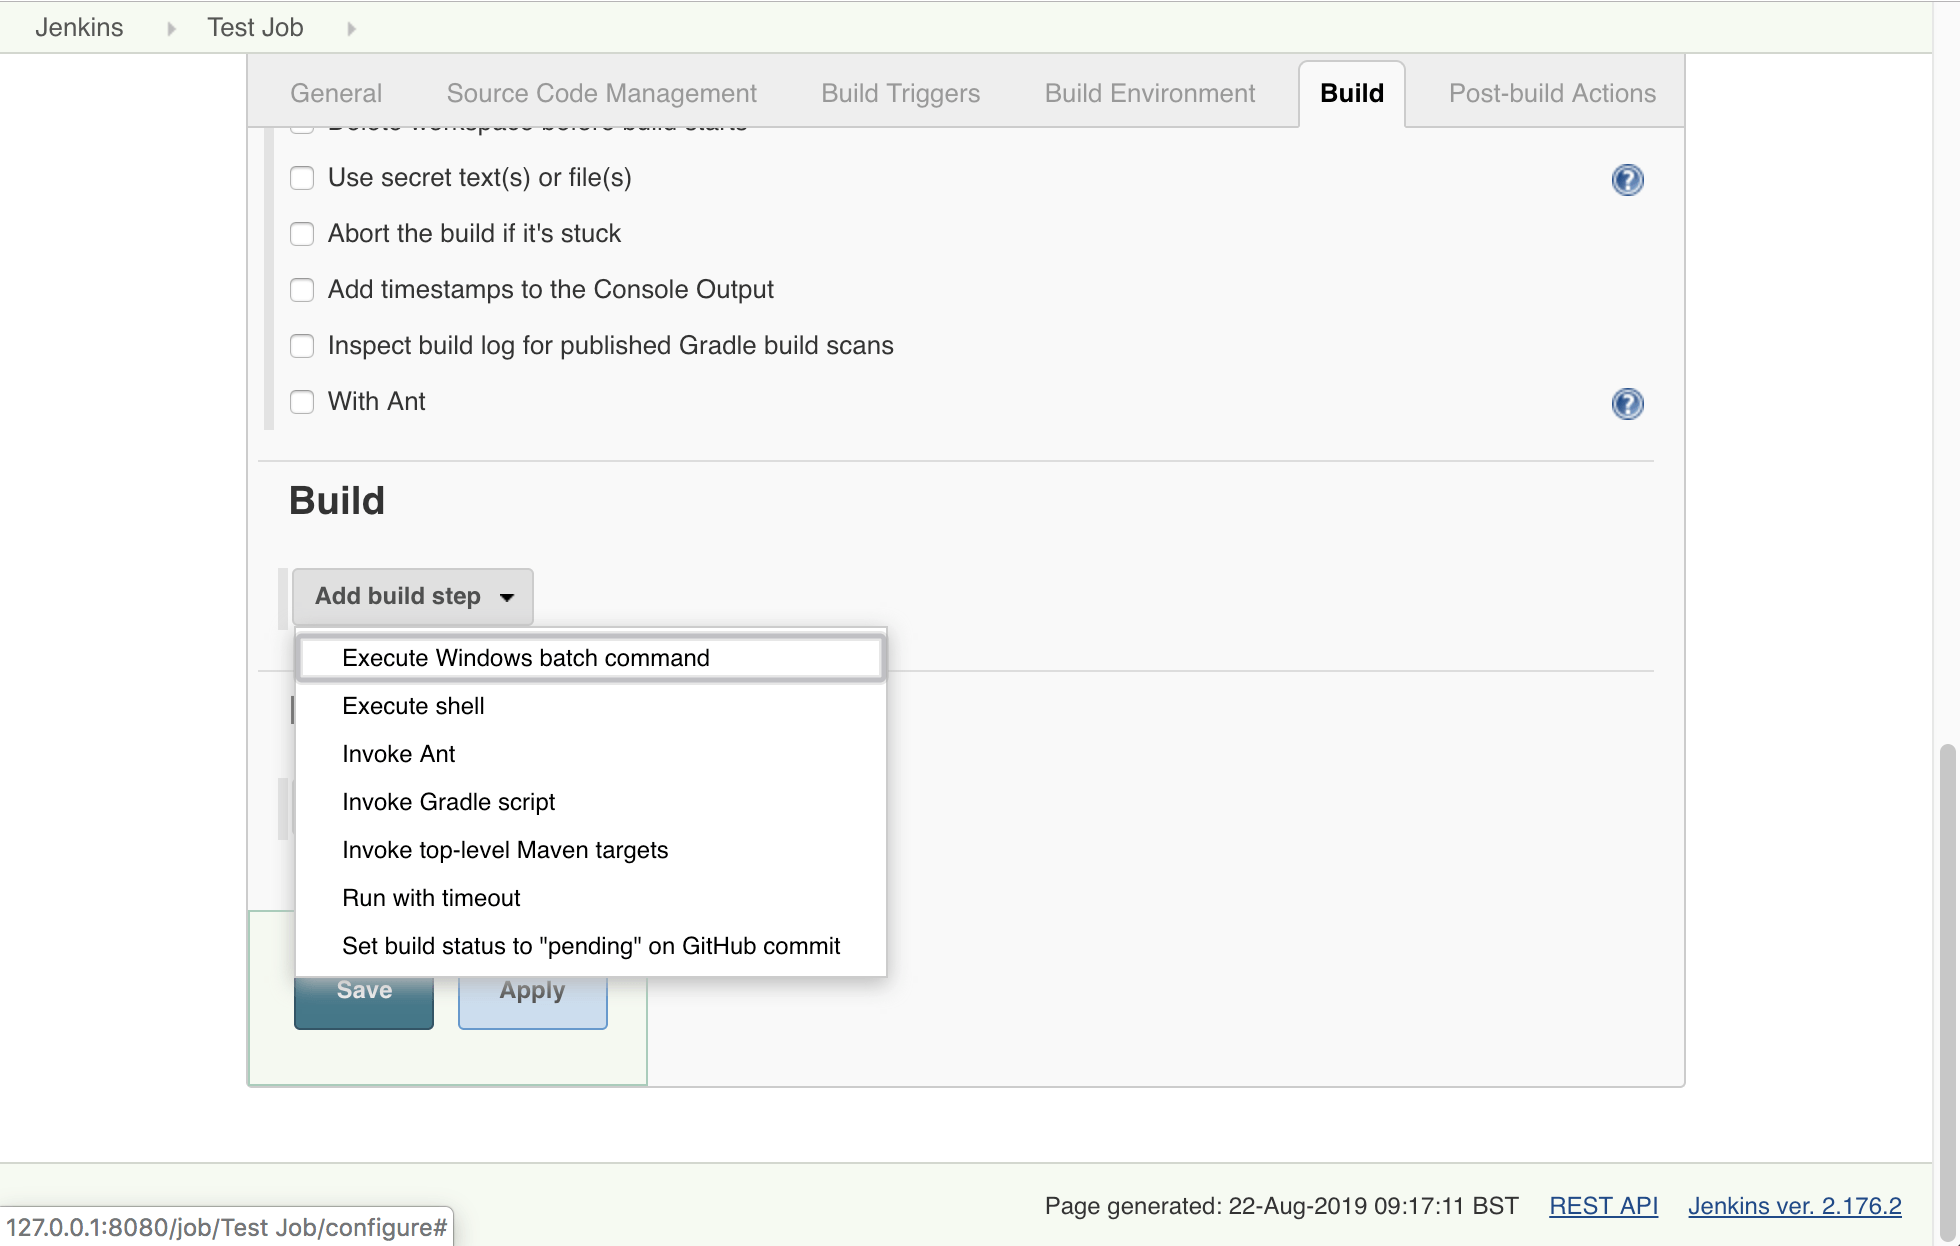
Our final steps is to actually execute a test, there are several options to trigger a test or a build process. Here is where we will add our actual test. Lastly, we can specify Post Build actions, this includes using emails to update our developers of the state of the test.
Now press apply and save.
Your build is now ready to run.