This article shows you how to setup the excellent free code quality tool SonarQube.
There are many different ways to set up SonarQube, depending what language(s) you program in and what tools you use. As an example, I’ll use SonarScanner for Maven and SonarJava to analyze the code quality of our BuildVu Microservice Example project.
To keep things simple, I’ll also be using the embedded database for storing reports. You’re strongly advised to use the embedded database for evaluation purposes only – it doesn’t scale, there’s no way to export data out into other database engines and it’ll be wiped every time you upgrade SonarQube.
With that out of the way, getting started is easy:
- Download the latest version of SonarQube (7.0 was the latest version at the time of writing).
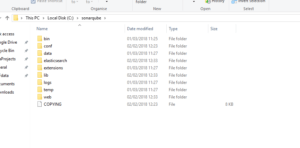
- When that’s finished downloading, unzip SonarQube into the directory you want to install it in. For example, I’ll be using
C:/sonarqube.
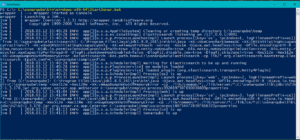
- Open up a terminal / command line window, then start up the SonarQube server using the command:
Windows:C:\sonarqube\bin\windows-x86-xx\StartSonar.bat(Don’t forget to change ‘xx’ to 32 or 64)
Mac / Linux:/path/to/sonarqube/bin/[OS]/sonar.sh console
I like to save this command in a script so in the future I can quickly start up the server. - Once the server has started, open up your browser and go to
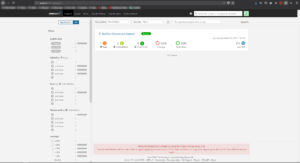
http://localhost:9000. You can login using the default System Admin credentials (admin / admin). - Skip the on-screen tutorial – you can always go back and do it at a later date if you want to (It can be found in the ‘Help’ section). As we haven’t actually scanned any projects yet, you should see an empty screen.
- Modify your Maven settings.xml file to enable SonarQube for Maven.
- Finally, open up a command line / terminal window in the base directory of your Maven project and run the command
mvn clean verify sonar:sonarto scan your project. If you go back to the Project Overview page from earlier and refresh the page, you should now see your project appear!

Our software libraries allow you to
| Convert PDF files to HTML |
| Use PDF Forms in a web browser |
| Convert PDF Documents to an image |
| Work with PDF Documents in Java |
| Read and write HEIC and other Image formats in Java |
