
It’s hard to put a label on VisualVM – it has a profiler, but it’s more than that. It also has tools for tracking threads, interacting with garbage collection, and monitoring memory and CPU usage. We use it to help development of our products BuildVu, FormVu, JPedal, and JDeli.
What you might not realise is that you almost certainly have VisualVM installed – it’s been included as a standard part of the JDK since Java 1.6 update 7. Further to this, it’s actually an evolution of Netbeans’s profiler, which was first introduced in 2004.
All of the major IDEs used by Java developers – with the exception of Netbeans due to its integrated profiler – can quickly be set up to use VisualVM. So here’s how to do it for IDEA and Eclipse.
IntelliJ IDEA
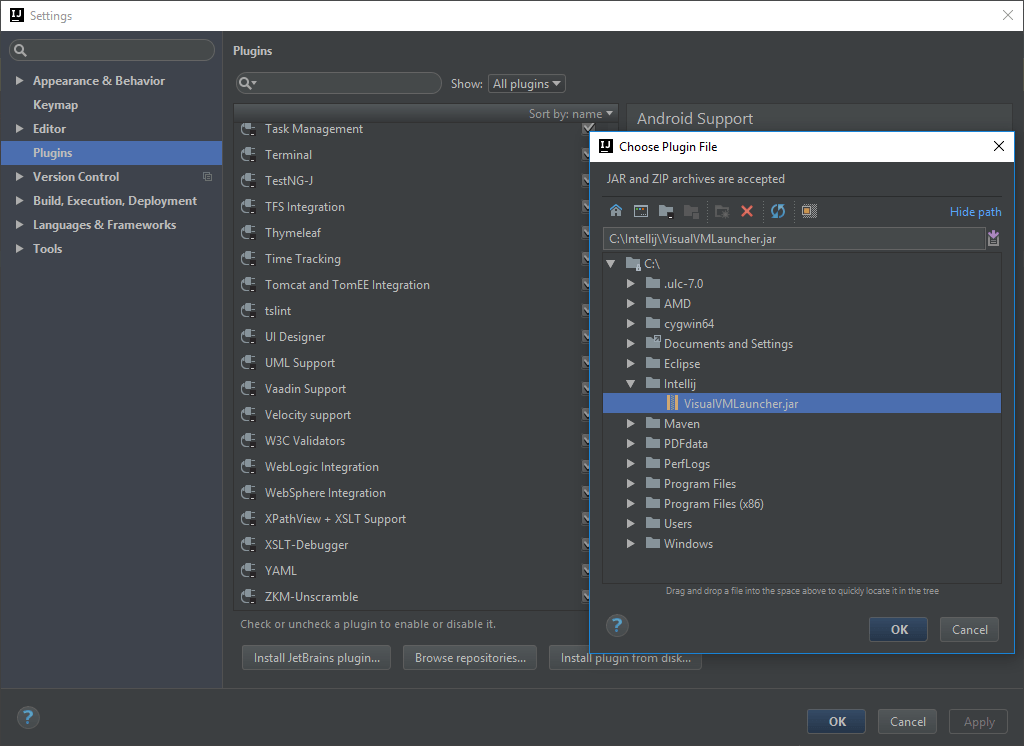
To set up VisualVM in Idea, first download the VisualVM Launcher jar. Open up the plugins settings page and install it by selecting ‘Install plugin from disk’.
Relaunch Idea and go to the new VisualVM Launcher settings page. Set the path to your jvisualvm.jar file which should be in your JDK’s bin folder.
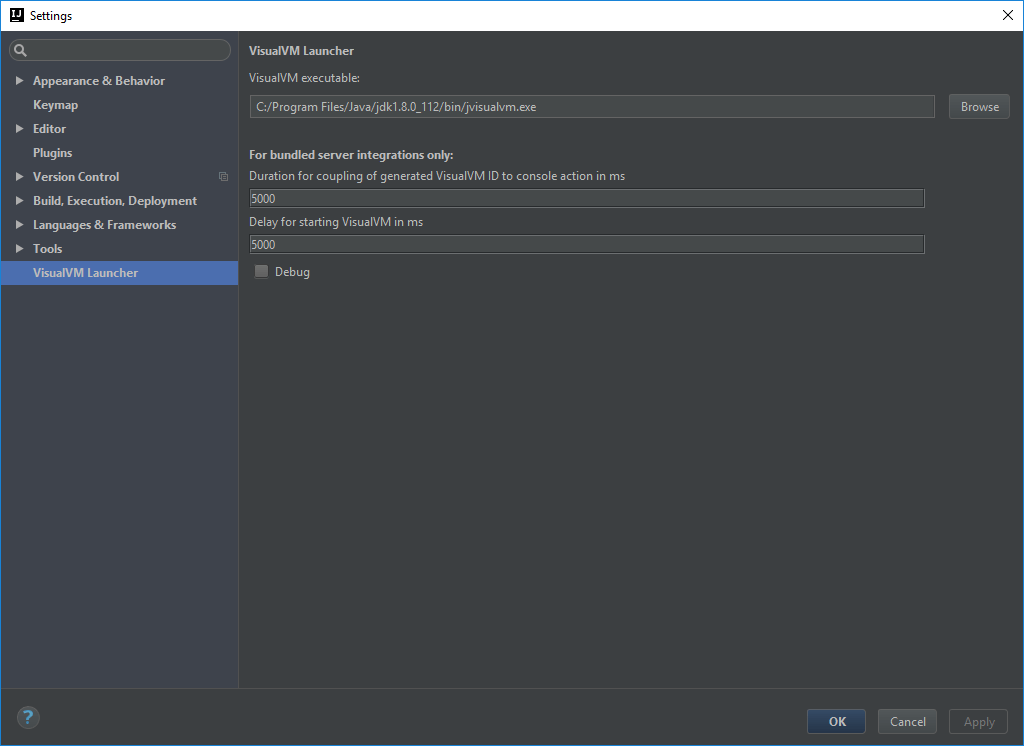
Idea will now have buttons for launching or debugging with VisualVM.
Eclipse
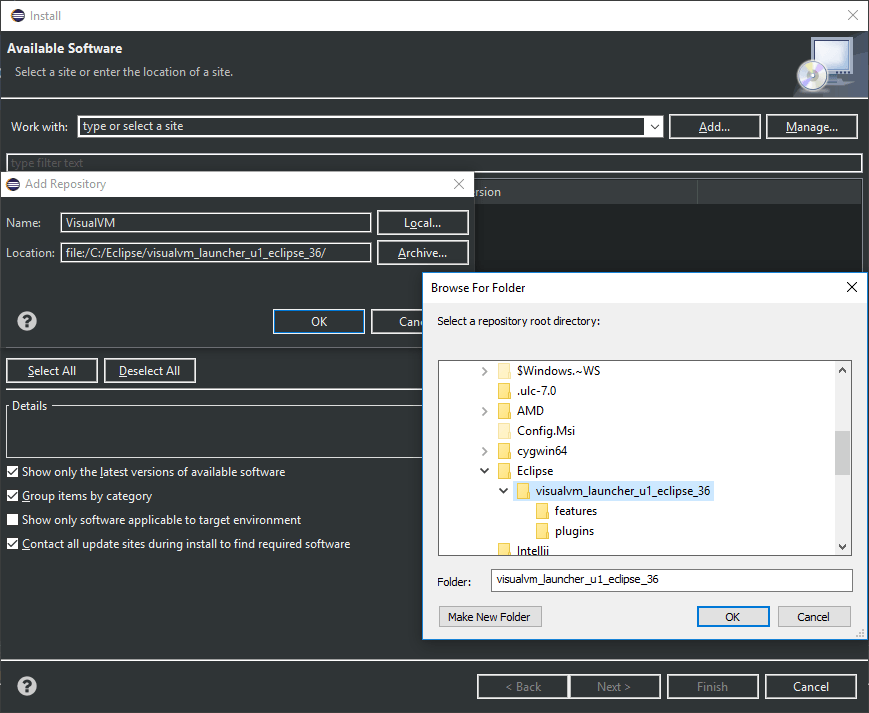
Download the VisualVM launcher for Eclipse and extract it to a location of your choosing. Launch Eclipse and click ‘Help’ -> ‘Install New Software…’.
Click ‘Add..’, fill in a name and then click ‘Local’. Find your VisualVM launcher folder and select it.
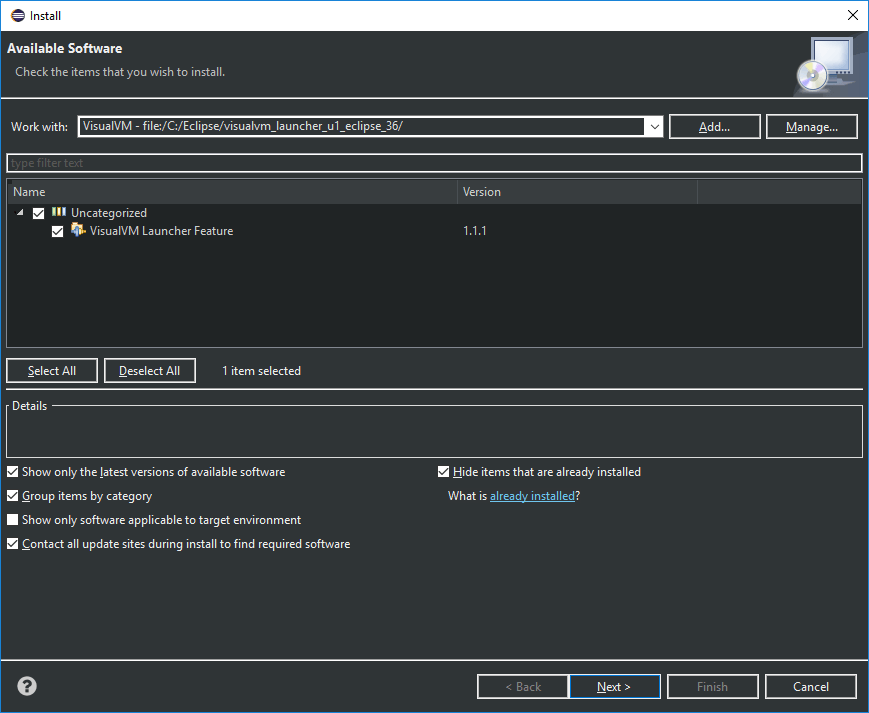
If you now return to the Install Software dialog you should see the launcher feature available to install. Select it and hit Next. Follow the instructions on screen and Eclipse will restart.
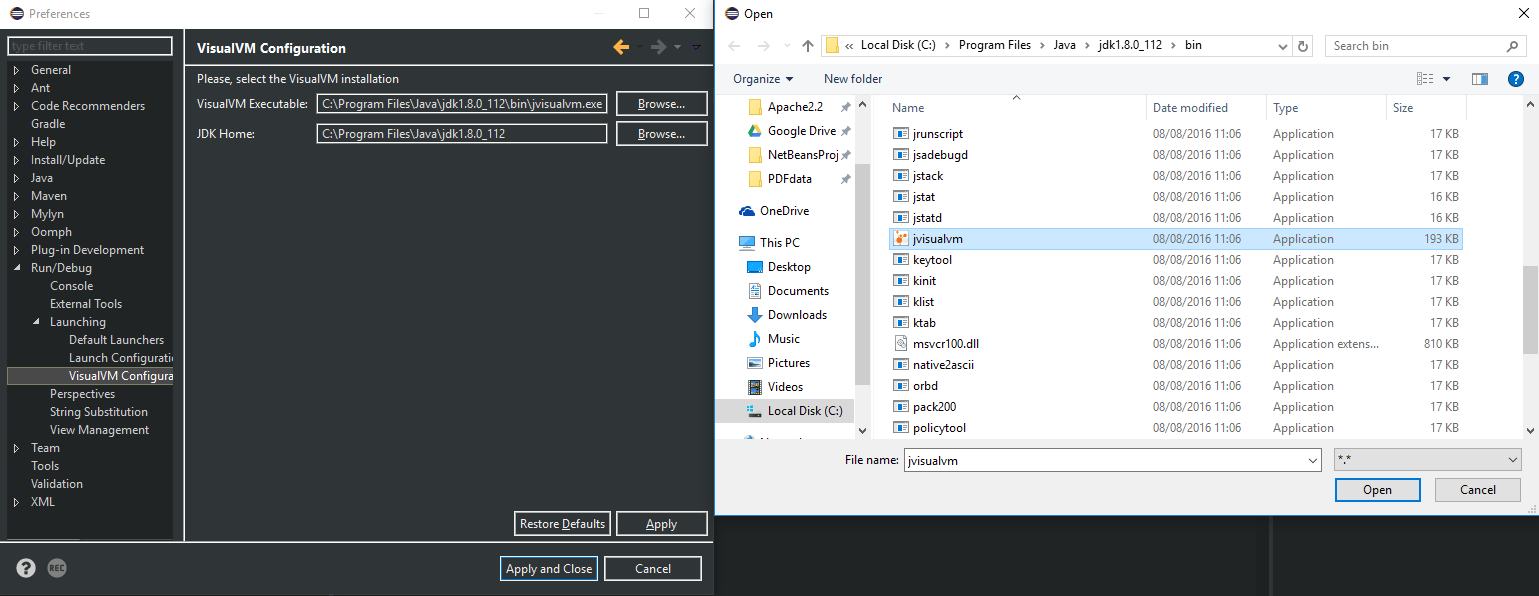
Navigate to VisualVM Configuration in Preferences where you can set your JDK (make sure it is not the JRE) and then set the executable to the jvisualvm.exe in your JDK’s bin folder.
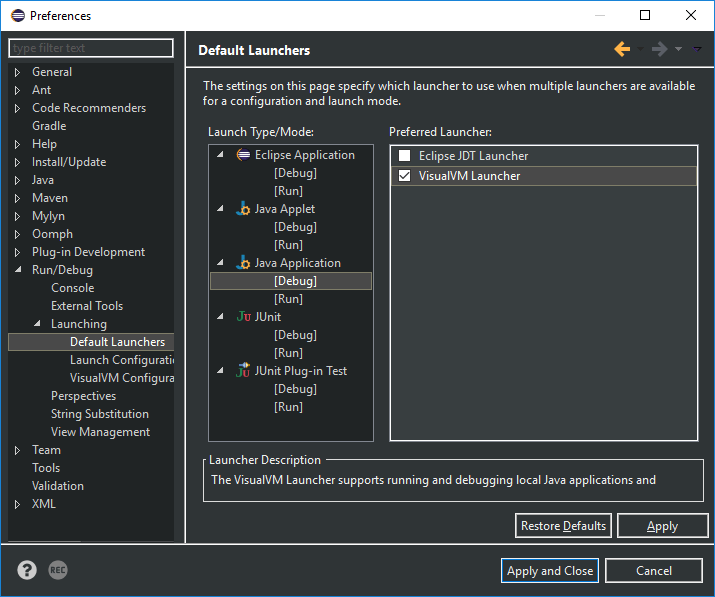
If you now go to Default Launchers in the same location, you can set Run and Debug configurations for your Java Application. Edit one or both to have the preferred launcher as VisualVM.
Now run your application and you’re good to go!
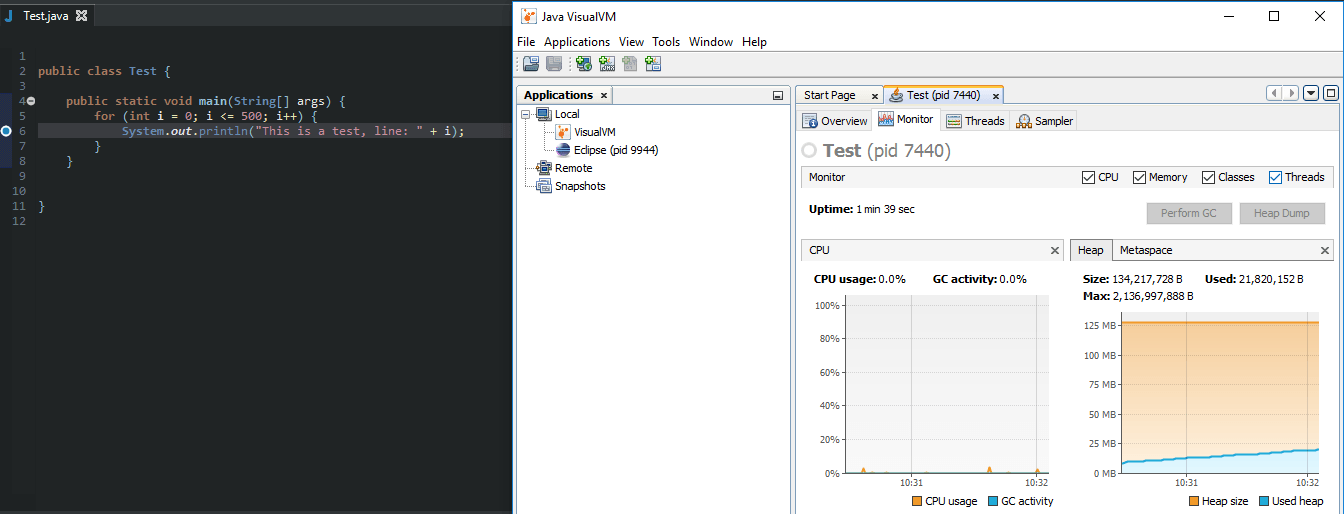
Note: If your application executes and ends extremely quickly, VisualVM might not pick it up in time. If this is the case, you can set a breakpoint in your code and run it in debug mode. This will allow VisualVM to recognise it and you can proceed to run it as normal.