
As a developer at IDR Solutions I spend a lot of my time working on adding Javadoc for the JPedal Java PDF Library to make it easier to use. I thought it might be useful to show you how the NetBeans IDE can simplify that process. In this short tutorial I will explain how to customize a Javadoc and how to add it to either one class or a whole project.
Customizing Javadoc
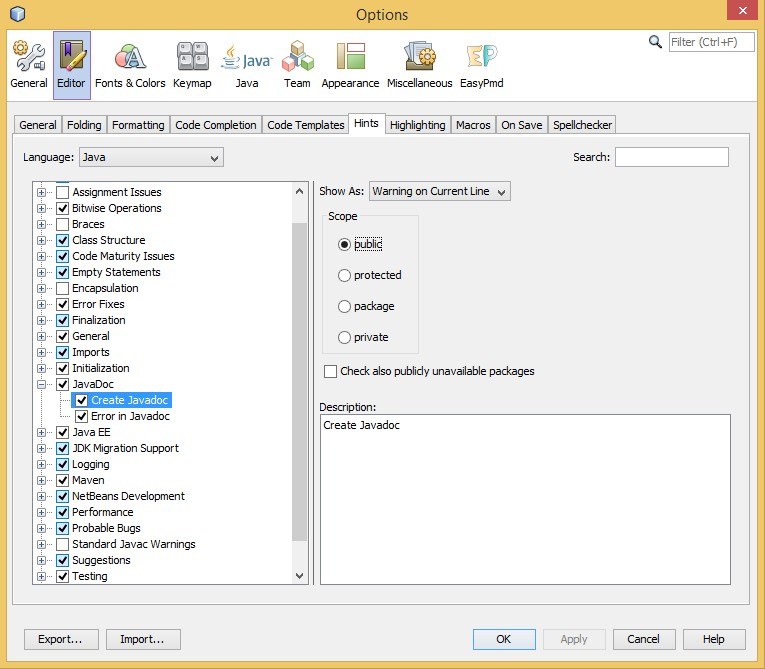
To customize the scope of a Javadoc simply select tools on the NetBeans IDE task bar, chose Options and than Editor. Type Javadoc in the search.
Adding Javadoc
NetBeans give you the option of adding Javadoc to a particular class or to the whole project at once.
1. Adding Javadoc to one class
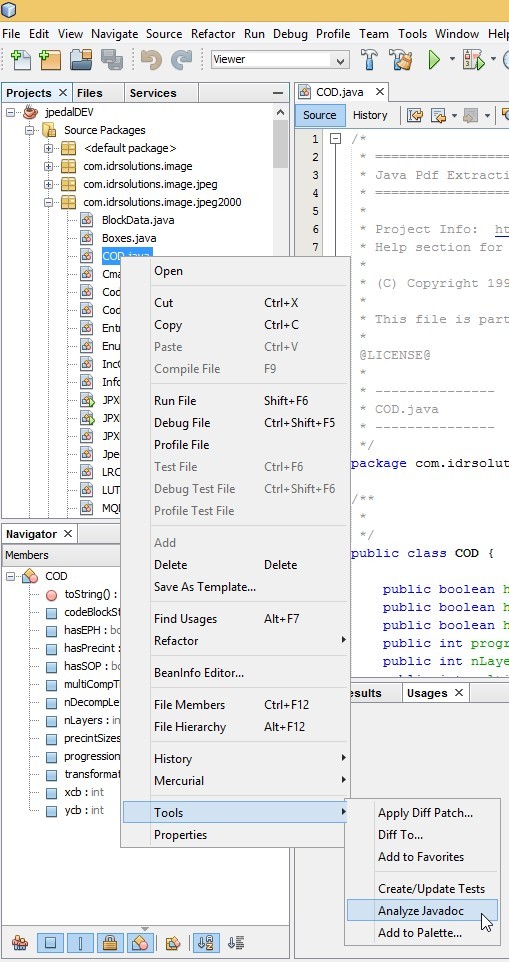
To add Javadoc simply select and right click on the class that you want the Javadoc to be added to. Navigate to Tools and select Analyze Javadoc.
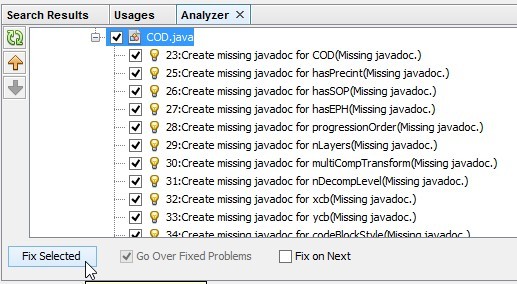
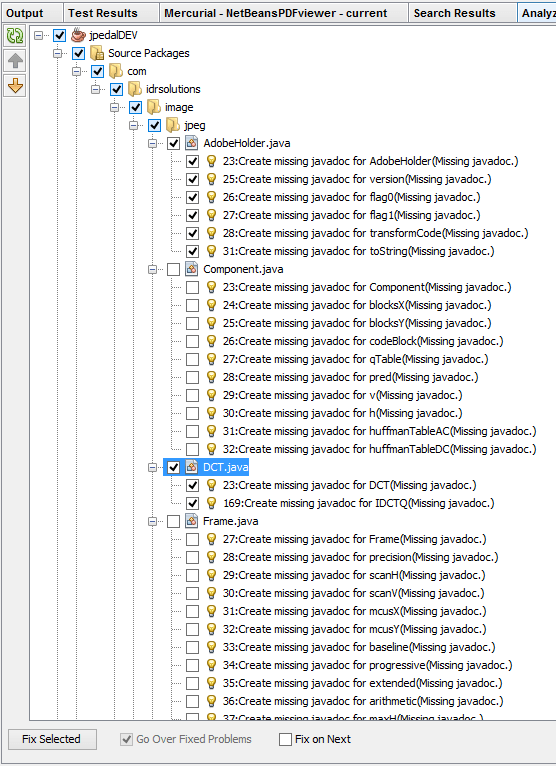
This will open the Analyzer window where you can select which Javadoc you want to add. Than press on Fix Selected.
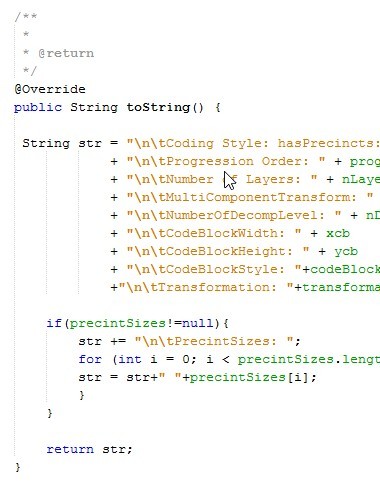
All Javadoc will be added for you automatically as shown on the example below.
2. Adding Javadoc to a project
To add Javadoc to a whole project simply click on the project than navigate to Tools on NetBeans tool bar and select analyze Javadoc. This will open the Analyzer window where you can select which Javadoc you want to add and than press on Fix Selected.
All done, so that is how you are adding Javadoc in NetBeans IDE.