Recently, I’ve been working on a proof of concept project which integrates our JPDF2HTML5 web service with the popular blogging platform WordPress. This series of articles is a writeup on various features I have used to create the plugin.
In my previous article, (you can read part one here) I demonstrated how to use WordPress to upload media as well as PHP’s SoapClient to access a web service. Now that the content has been converted, I’ll look at the final integral step to the plugin: embedding the content.
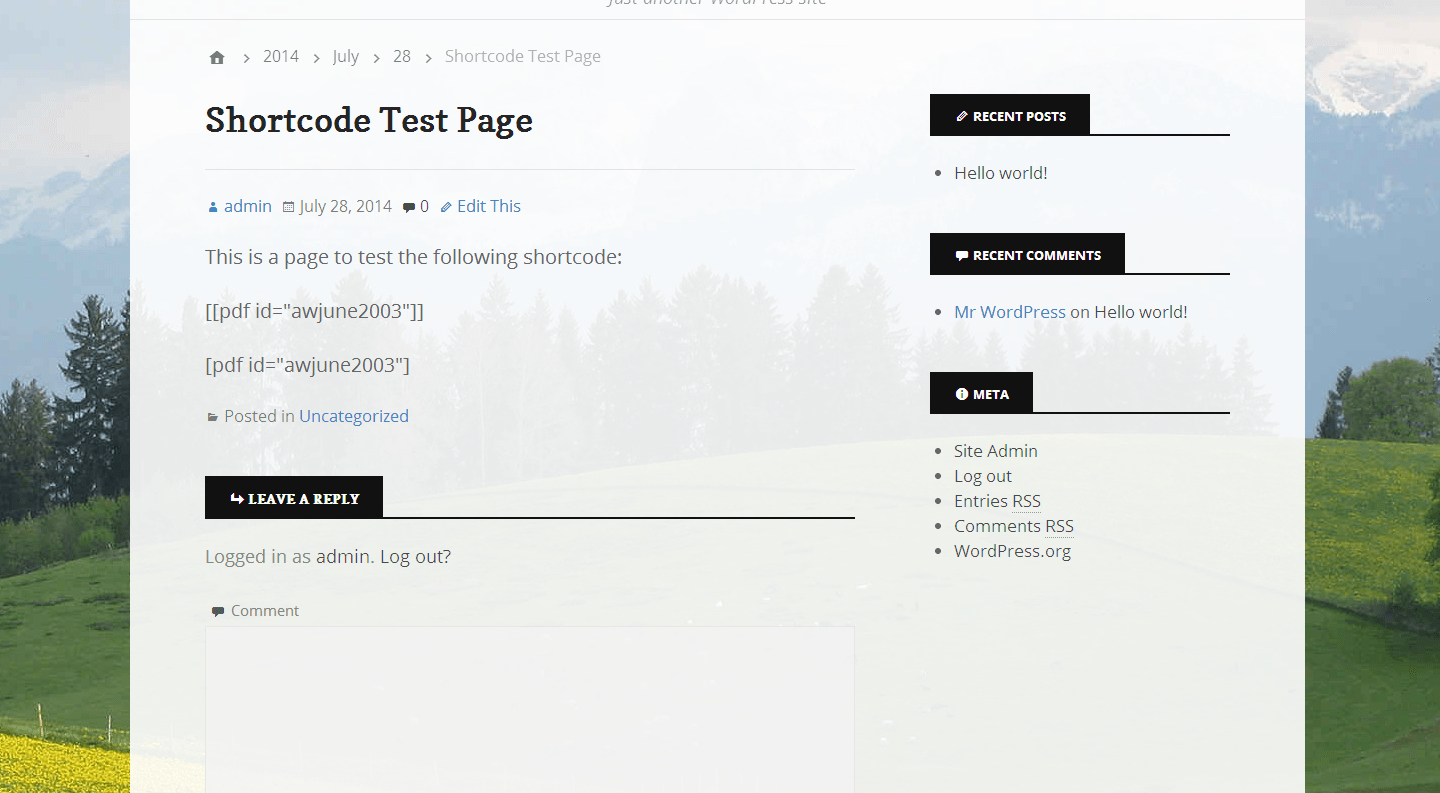
To embed the content I’ll be using a feature of WordPress known as shortcodes. If you’ve used WordPress plugins before, there’s a likely chance you’ve encountered them the basic form of a shortcode is a keyword between square brackets. You can also include other attribute tags which you can process alongside the shortcode. For this example we’ll be getting the shortcode [pdf id=”awjune2003″] to link our previously converted PDF into a web page. The screenshot below is a new post which will display our converted PDF once we’re done.

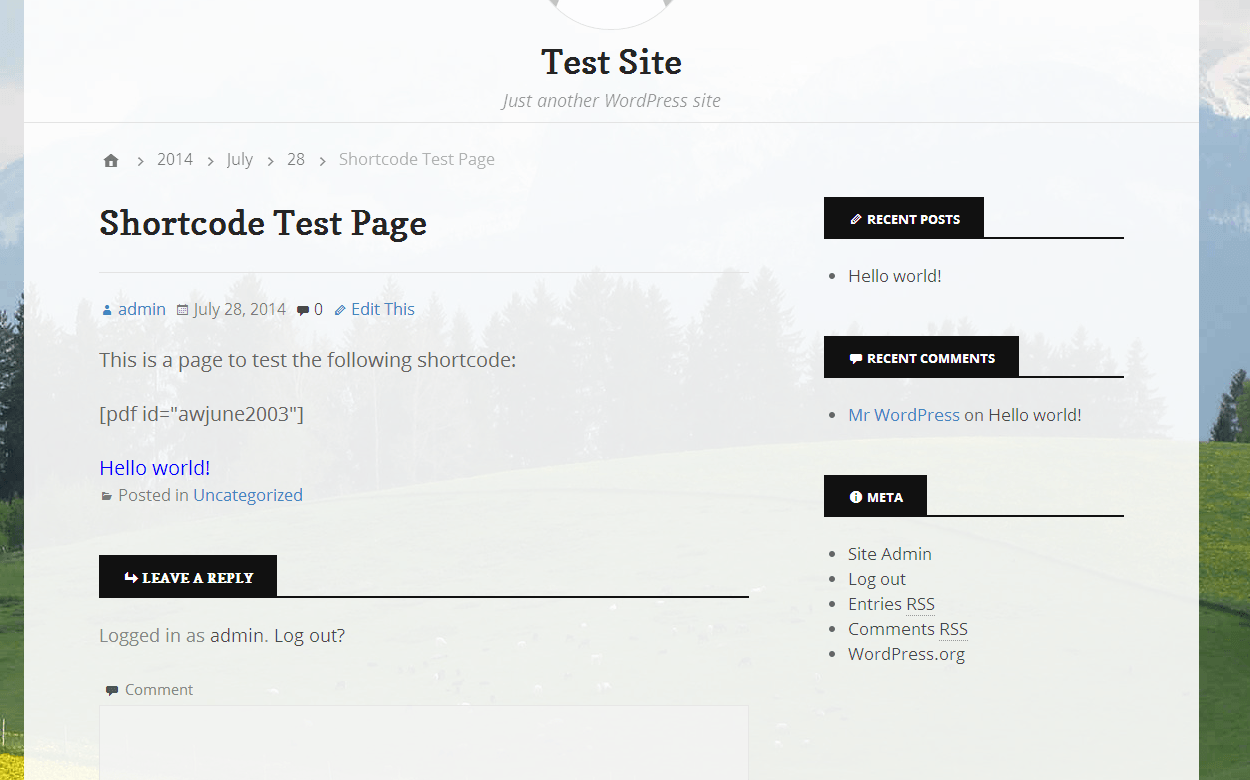
The code to register a shortcode uses the add_shortcode() method, specifying the identifier for your short code (in this case we’re using “pdf”) and the method which processes the short code. For now let’s get it to change the shortcode to “Hello World!”.
Which changes the page to:
Now we know that the shortcode works, we can now change it to output an iframe containing our converted document. Notice in the code how I used a span to change the color, the code returned is HTML.
The next code sample does a few things;
First of all $atts is added as a method parameter, this is an array which contains all the attributes in the shortcode. In our case this is just “id”, which is the name of the pdf.
Secondly we use the WordPress function shortcode_atts() to get an array with only the attributes we want. If no value is found for ‘id’ it will have the default value -1. We also check that ID is valid and move on, if it isn’t valid we return an empty string.
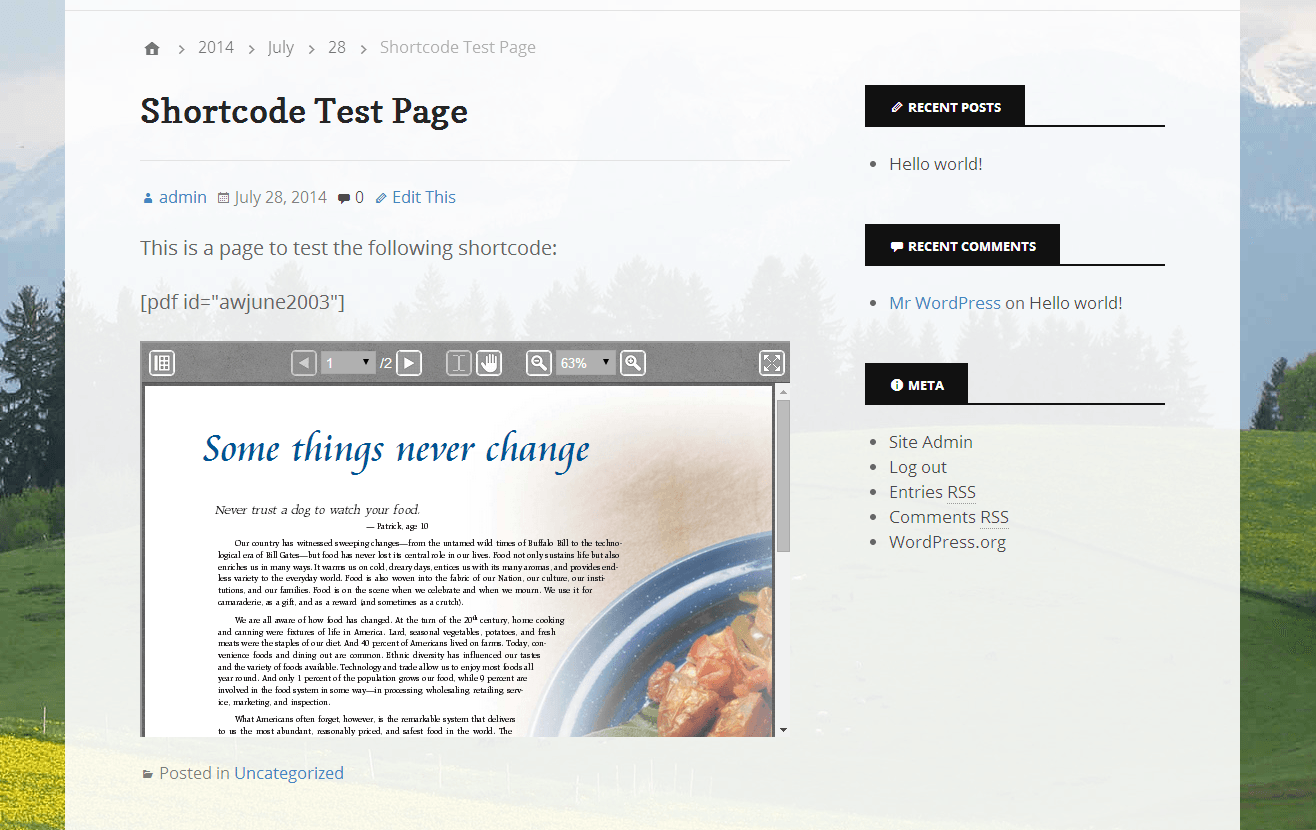
Finally we create the URL for the document and an iframe to contain it. Then the string value of the iframe is returned and gets displayed on the page.
Which gives us:
Hopefully you have found this series of articles on the word press plugin useful, let us know your thoughts.
Our software libraries allow you to
| Convert PDF files to HTML |
| Use PDF Forms in a web browser |
| Convert PDF Documents to an image |
| Work with PDF Documents in Java |
| Read and write HEIC and other Image formats in Java |


Hey Simon,
Thanks for sharing this series.Its really Awesome..
Thanks Again
Shubham