In this tutorial, i will show you how to build your Java Application with Apache Ant. At IDR Solutions 90% of our test is automated and to do so will need an automated means of build our project. This is when Apache Ant comes in handy. There are several types of Java build tools such as Maven, Gradle etc. Each of this build tools have their strengths and weaknesses.
What is Apache Ant
As I explained above, it is an automated build tool for Java software build processes and also helps you manage your project from command line.
Prerequisite
- You need to have Apache installed. You can get it from here
- You need to have JDK installed. You can get it from here
- Have a Java IDE installed (I will be using NetBeans )
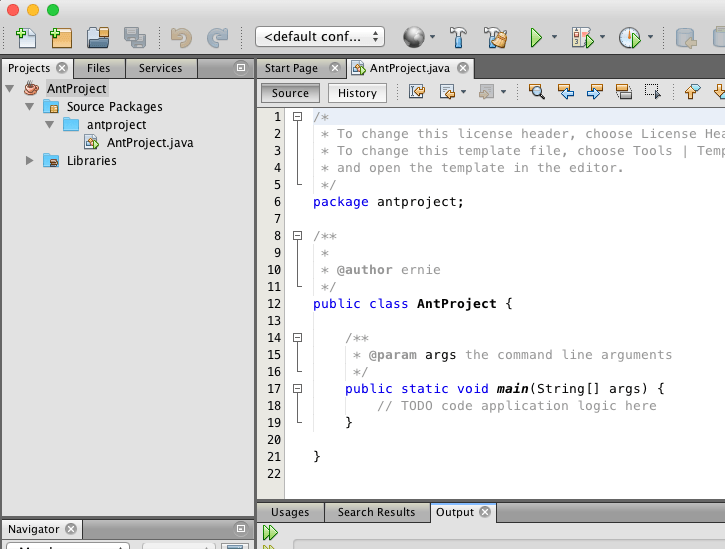
Open your IDE and Create a new Java Project. (I will call mine AntProject)
Note
When you create a NetBeans Project, it automatically generates an Ant file called build.xml which will compile, clean and build your project for you. I will go ahead and show you how you can create the build file your self so you can do a whole lot of customisation to your project.
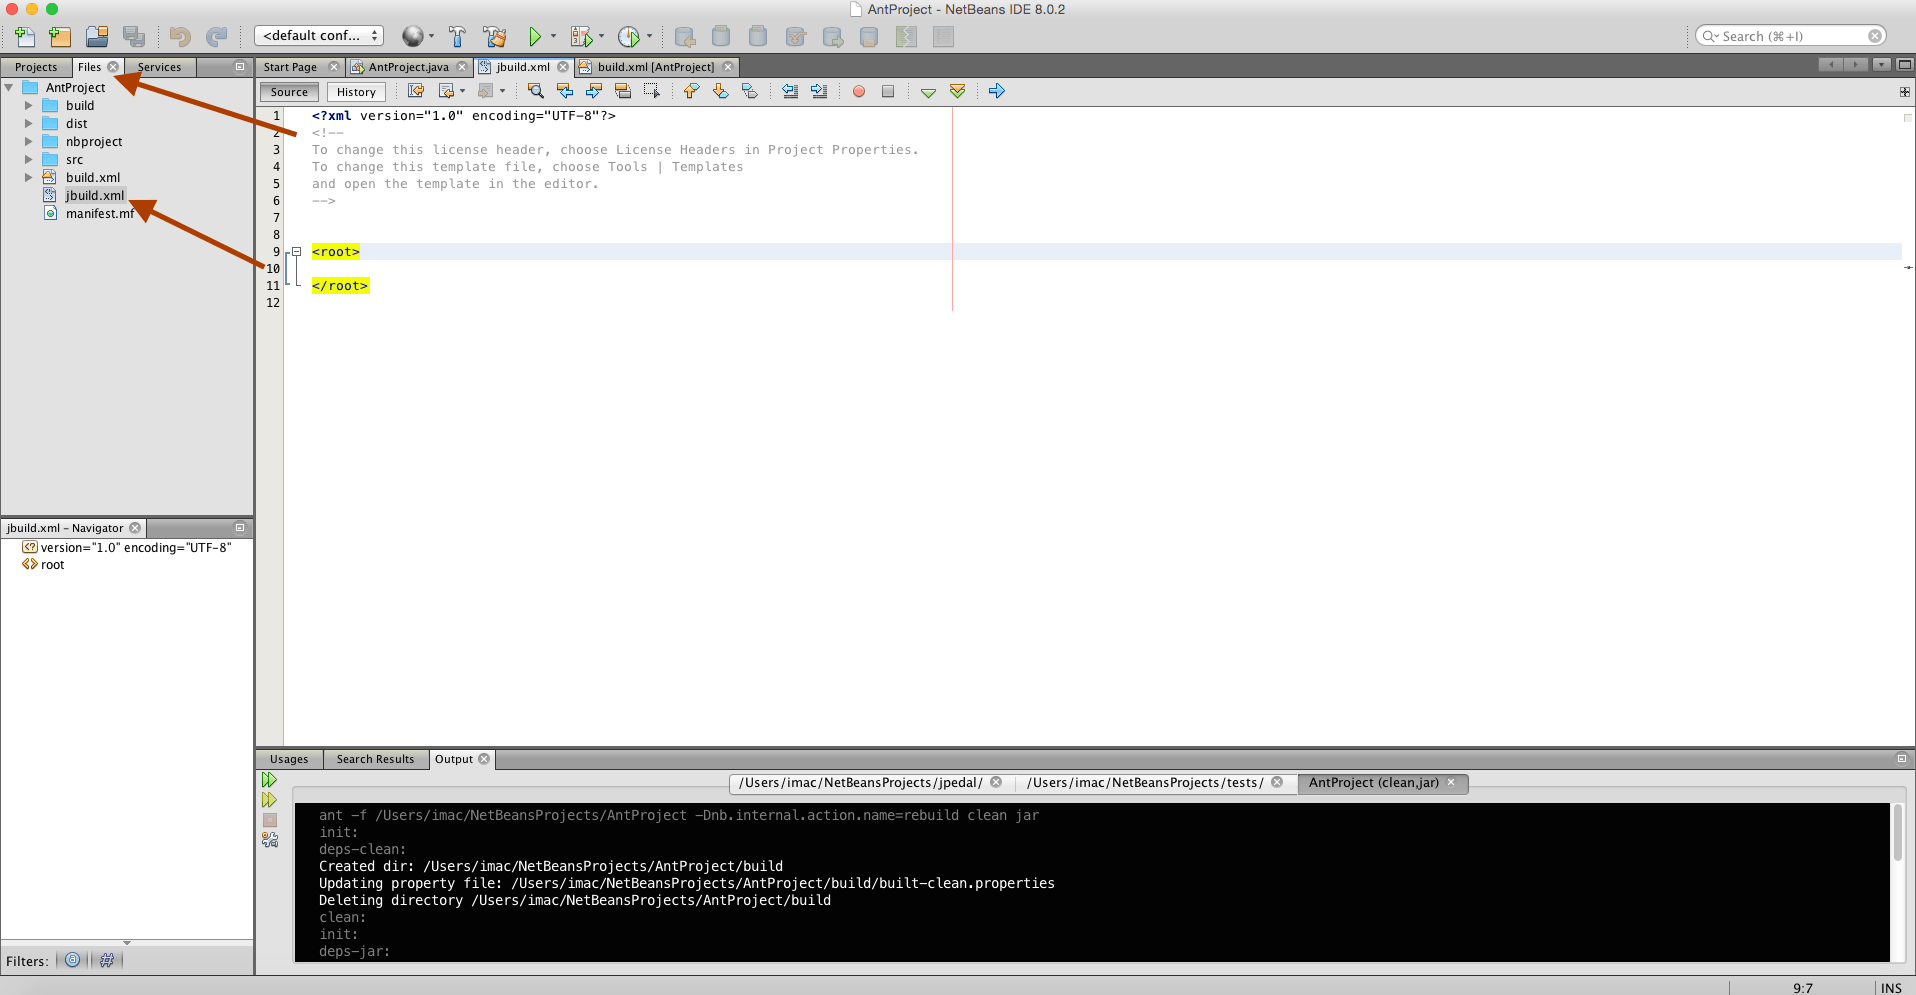
In Netbeans, switch to the File view and create a new xml file. I will call mine jbuild.xml.
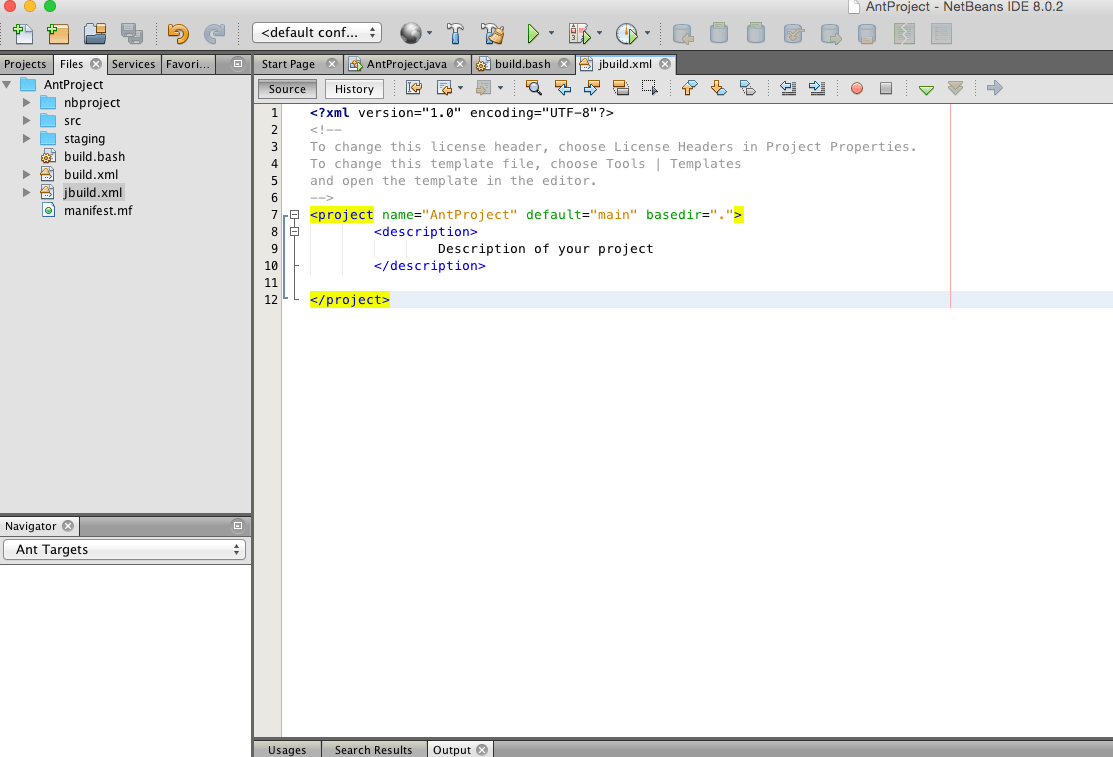
Description of your project
Lets go ahead and set some properties to some values for our directories
We will now create our first target called which will be the point of entry for Ant. i will call mine main. This target will depend on three other targets, meaning the three targets will be executed before the main target.
Create the clean target. The clean target will delete the staging directory
Create compile target, This will compile the source code and place it in the build directory
We will not create the dist target which will depend on compile. This will package our JAR
Notice we placed a manifest tag in the jar tag.This will adds meta-data about the .jar file and its content and specify the main class.
Now lets put all together.
Description of your project
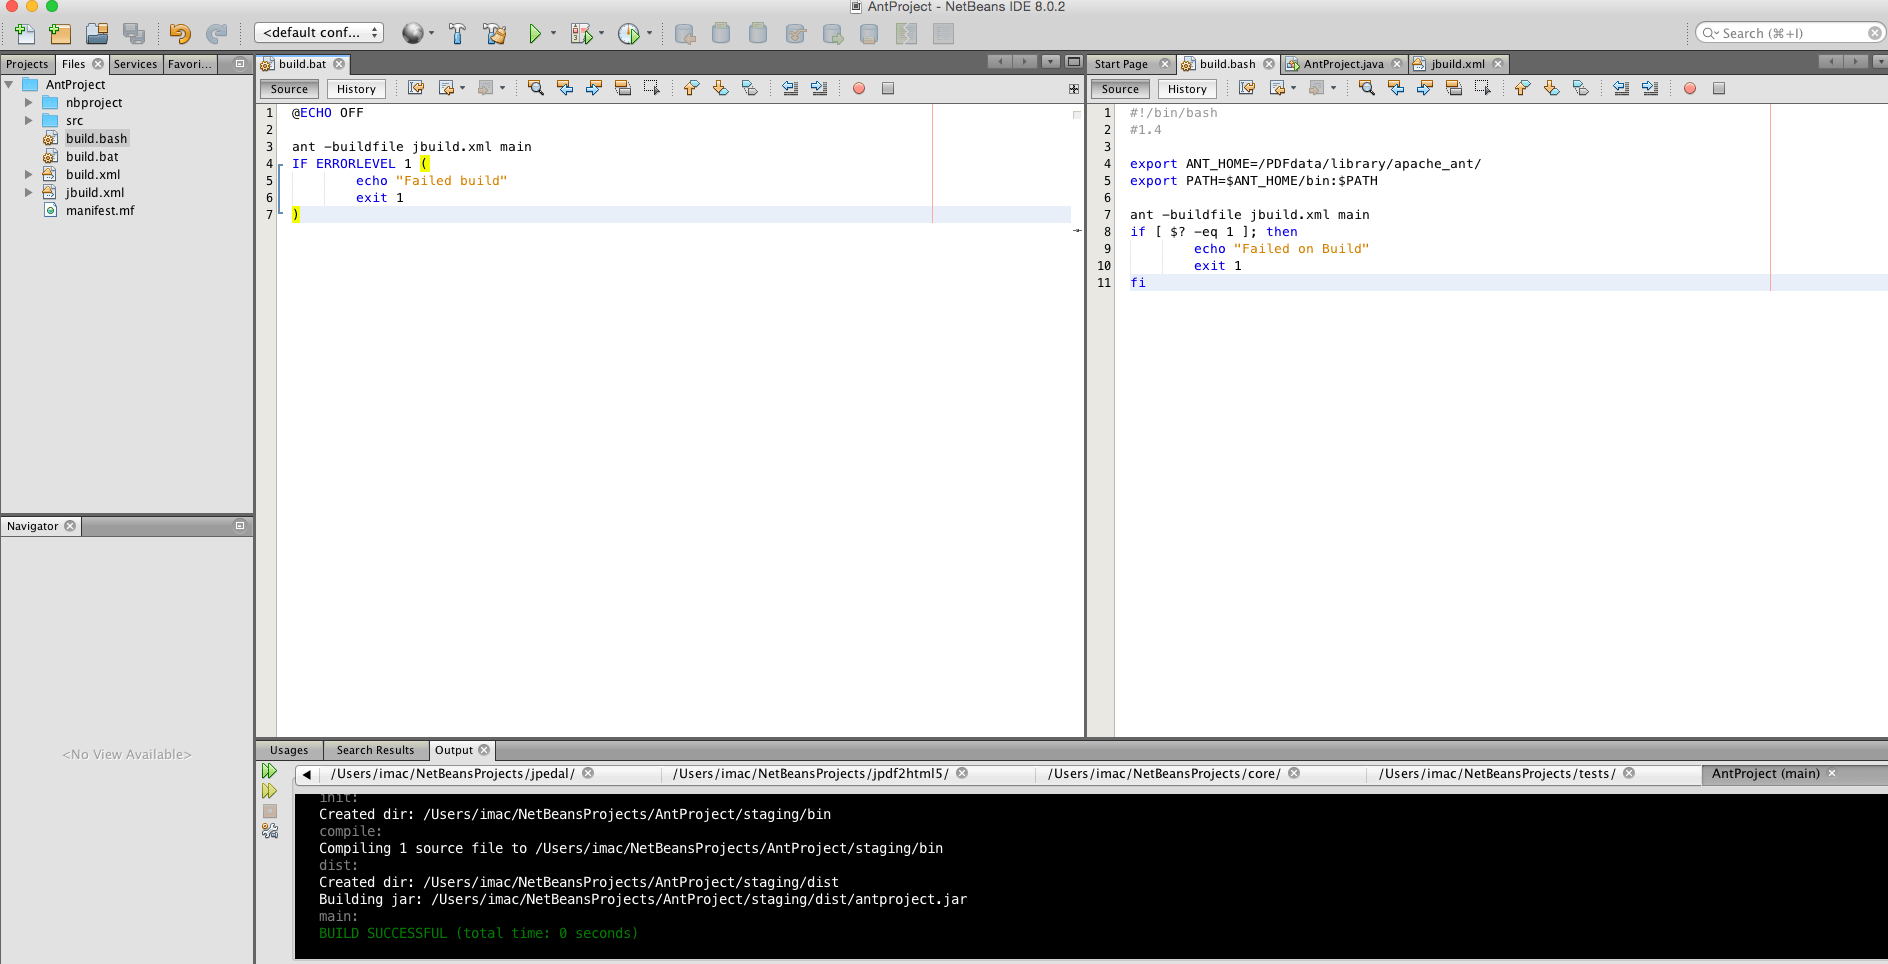
Now let head over to NetBeans. Create a bash file if you are on Linux/MAC or Batch if on Windows.
Replace the path of ANT_HOME to where you installed Ant Paste this code to the bash file
#!/bin/bash
#1.4

export ANT_HOME=/PDFdata/library/apache_ant/
export PATH=$ANT_HOME/bin:$PATH

ant -buildfile jbuild.xml main
if [ $? -eq 1 ]; then
echo "Failed on Build"
exit 1
fi
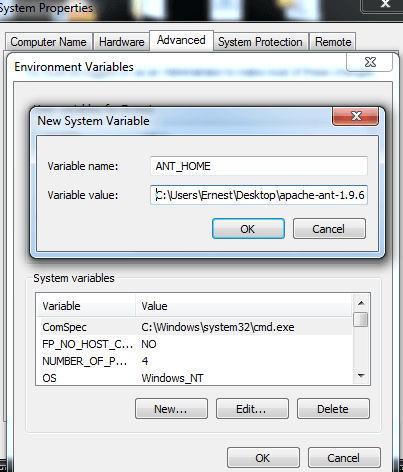
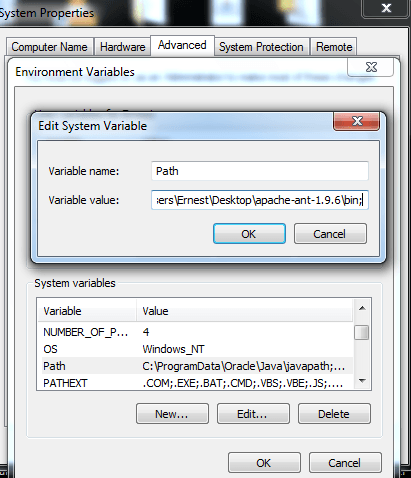
if on Windows, click on Start –> Right click on computer –> Advance settings –> Environmental Variables and set variables for ANT.
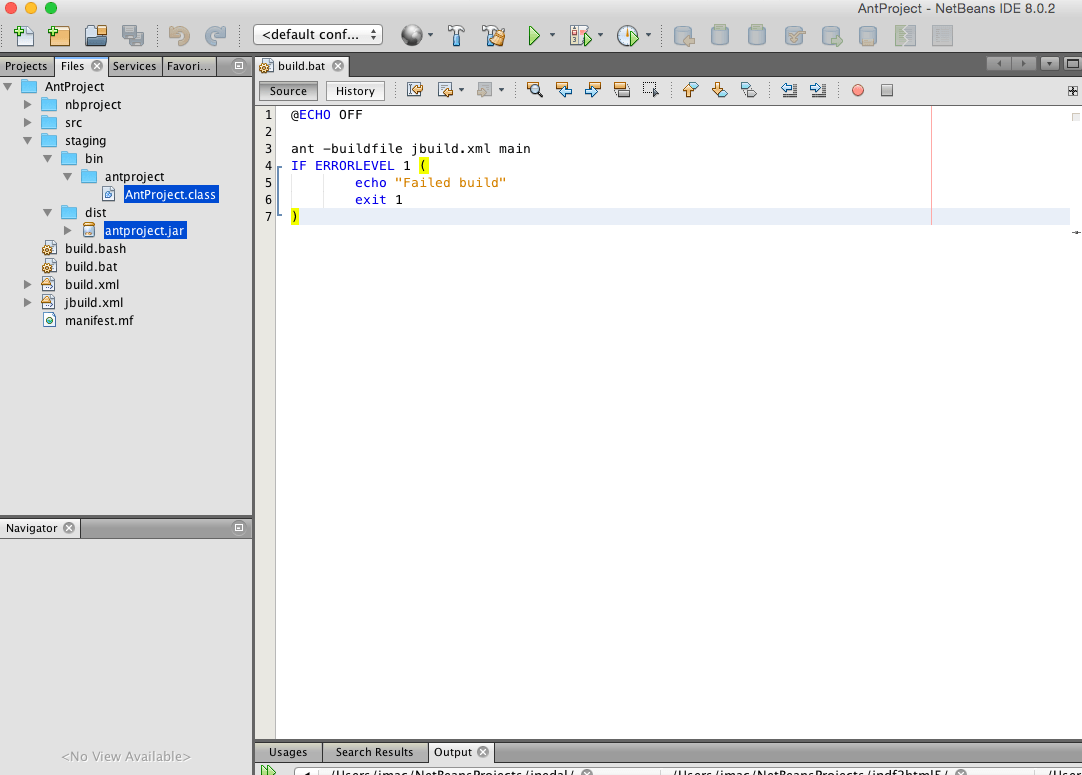
@ECHO OFF

ant -buildfile jbuild.xml main
IF ERRORLEVEL 1 (
echo "Failed build"
exit 1
)
As you can see in both scripts, we call ant then specify the build file (jbuild.xml – the one we created) then we call the main target from the build. You can also run without calling the main target as we specified it as default in our project tag.
Your project should be looking like this with either bash or bat file.
On MAC/LINUX, type in chmod +x build.bash hit enter then ./build.bash and enter
On Windows, type in build.bat and hit enter
You should now see all the build steps in your console and you build should be Successful.
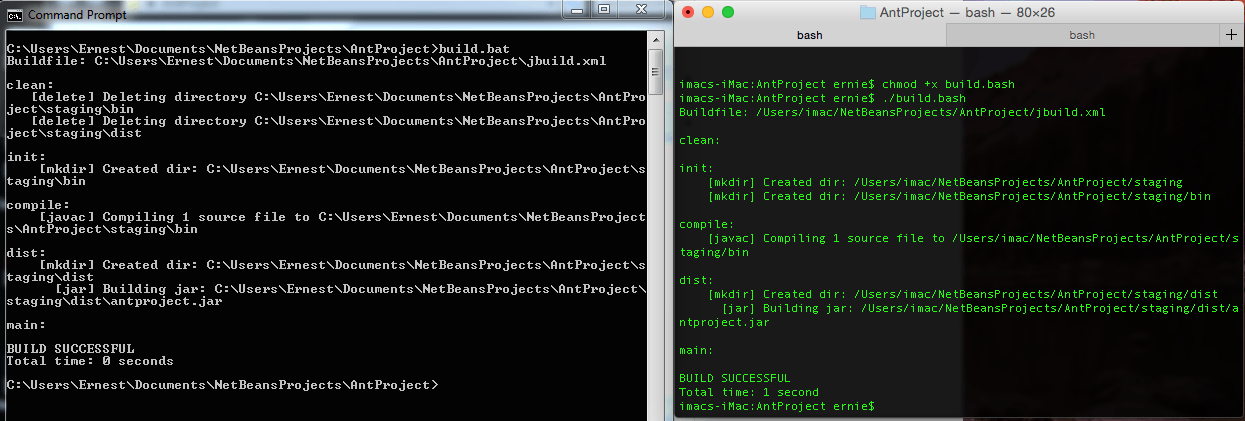
Head over to NetBeans and you should see a staging directory which contains the compiled class in bin folder and jar in dist folder.
Hopefully you have found this quick guide useful. In the next article, I will show you how to setup Jenkins which is an open source continuous integration tool. We will then use both to perform some automated static Analysis on our code base.
Our software libraries allow you to
| Convert PDF to HTML in Java |
| Convert PDF Forms to HTML5 in Java |
| Convert PDF Documents to an image in Java |
| Work with PDF Documents in Java |
| Read and Write AVIF, HEIC, WEBP and other image formats |