
This is an article on viewing images in Java where I’ll take you through the steps of creating a viewer. This will give you a very basic Java Viewer you can use to view images. The tutorial is based on our Java Image Viewer that you will need our JDeli jar downloaded to use the JDeli viewer, why not go check it out!
Creating the class
To create a simple viewer we will need to have a menu, a file selector and a window to view the image.
First, we will start by creating a class called Viewer that extends JFrame and a method run that will be called from the constructor.
public class Viewer extends JFrame {
|
We have used Java.awt.ToolKit class to get the width and height of the screen. These will be used to set the frame size as well as the image size later on. I have set my viewer name to “Image Viewer” but feel free to change the name.
I have chosen to have a larger viewer by subtracting 100 from the width and height of the screen, but you can play around with what size you may want.
Adding the panel for displaying the image
Now that we have a frame we will want to add a Panel and a label, this will be where the image is displayed. You’ll want to put the Image label in a scroll pane so that you can scroll the image up and down. This can be done by adding the following to the run method:
|
I have set the image label bounds to the screen width and height minus 200 but you can change these values to how large or small you want to image to be.
As you can see we call the addMenu() method above, we will need to create this method to be able to open files.
Create the JMenuItem open as a global variable as we will need to use this later on.
|
Here we create our menu bar and items and add them in and set the JMenuBar for the frame.
For this, we want to ensure that the Viewer class implements ActionListener. This is so we can open a file when the menu item is clicked. Therefore we will need to override this method:
|
Finally, we will then need to make the openFile method that is being called above. This method will open a file chooser and use the file selected to set the icon in the imageLabel variable.
|
Now when we run the code we should hopefully have something that looks like this: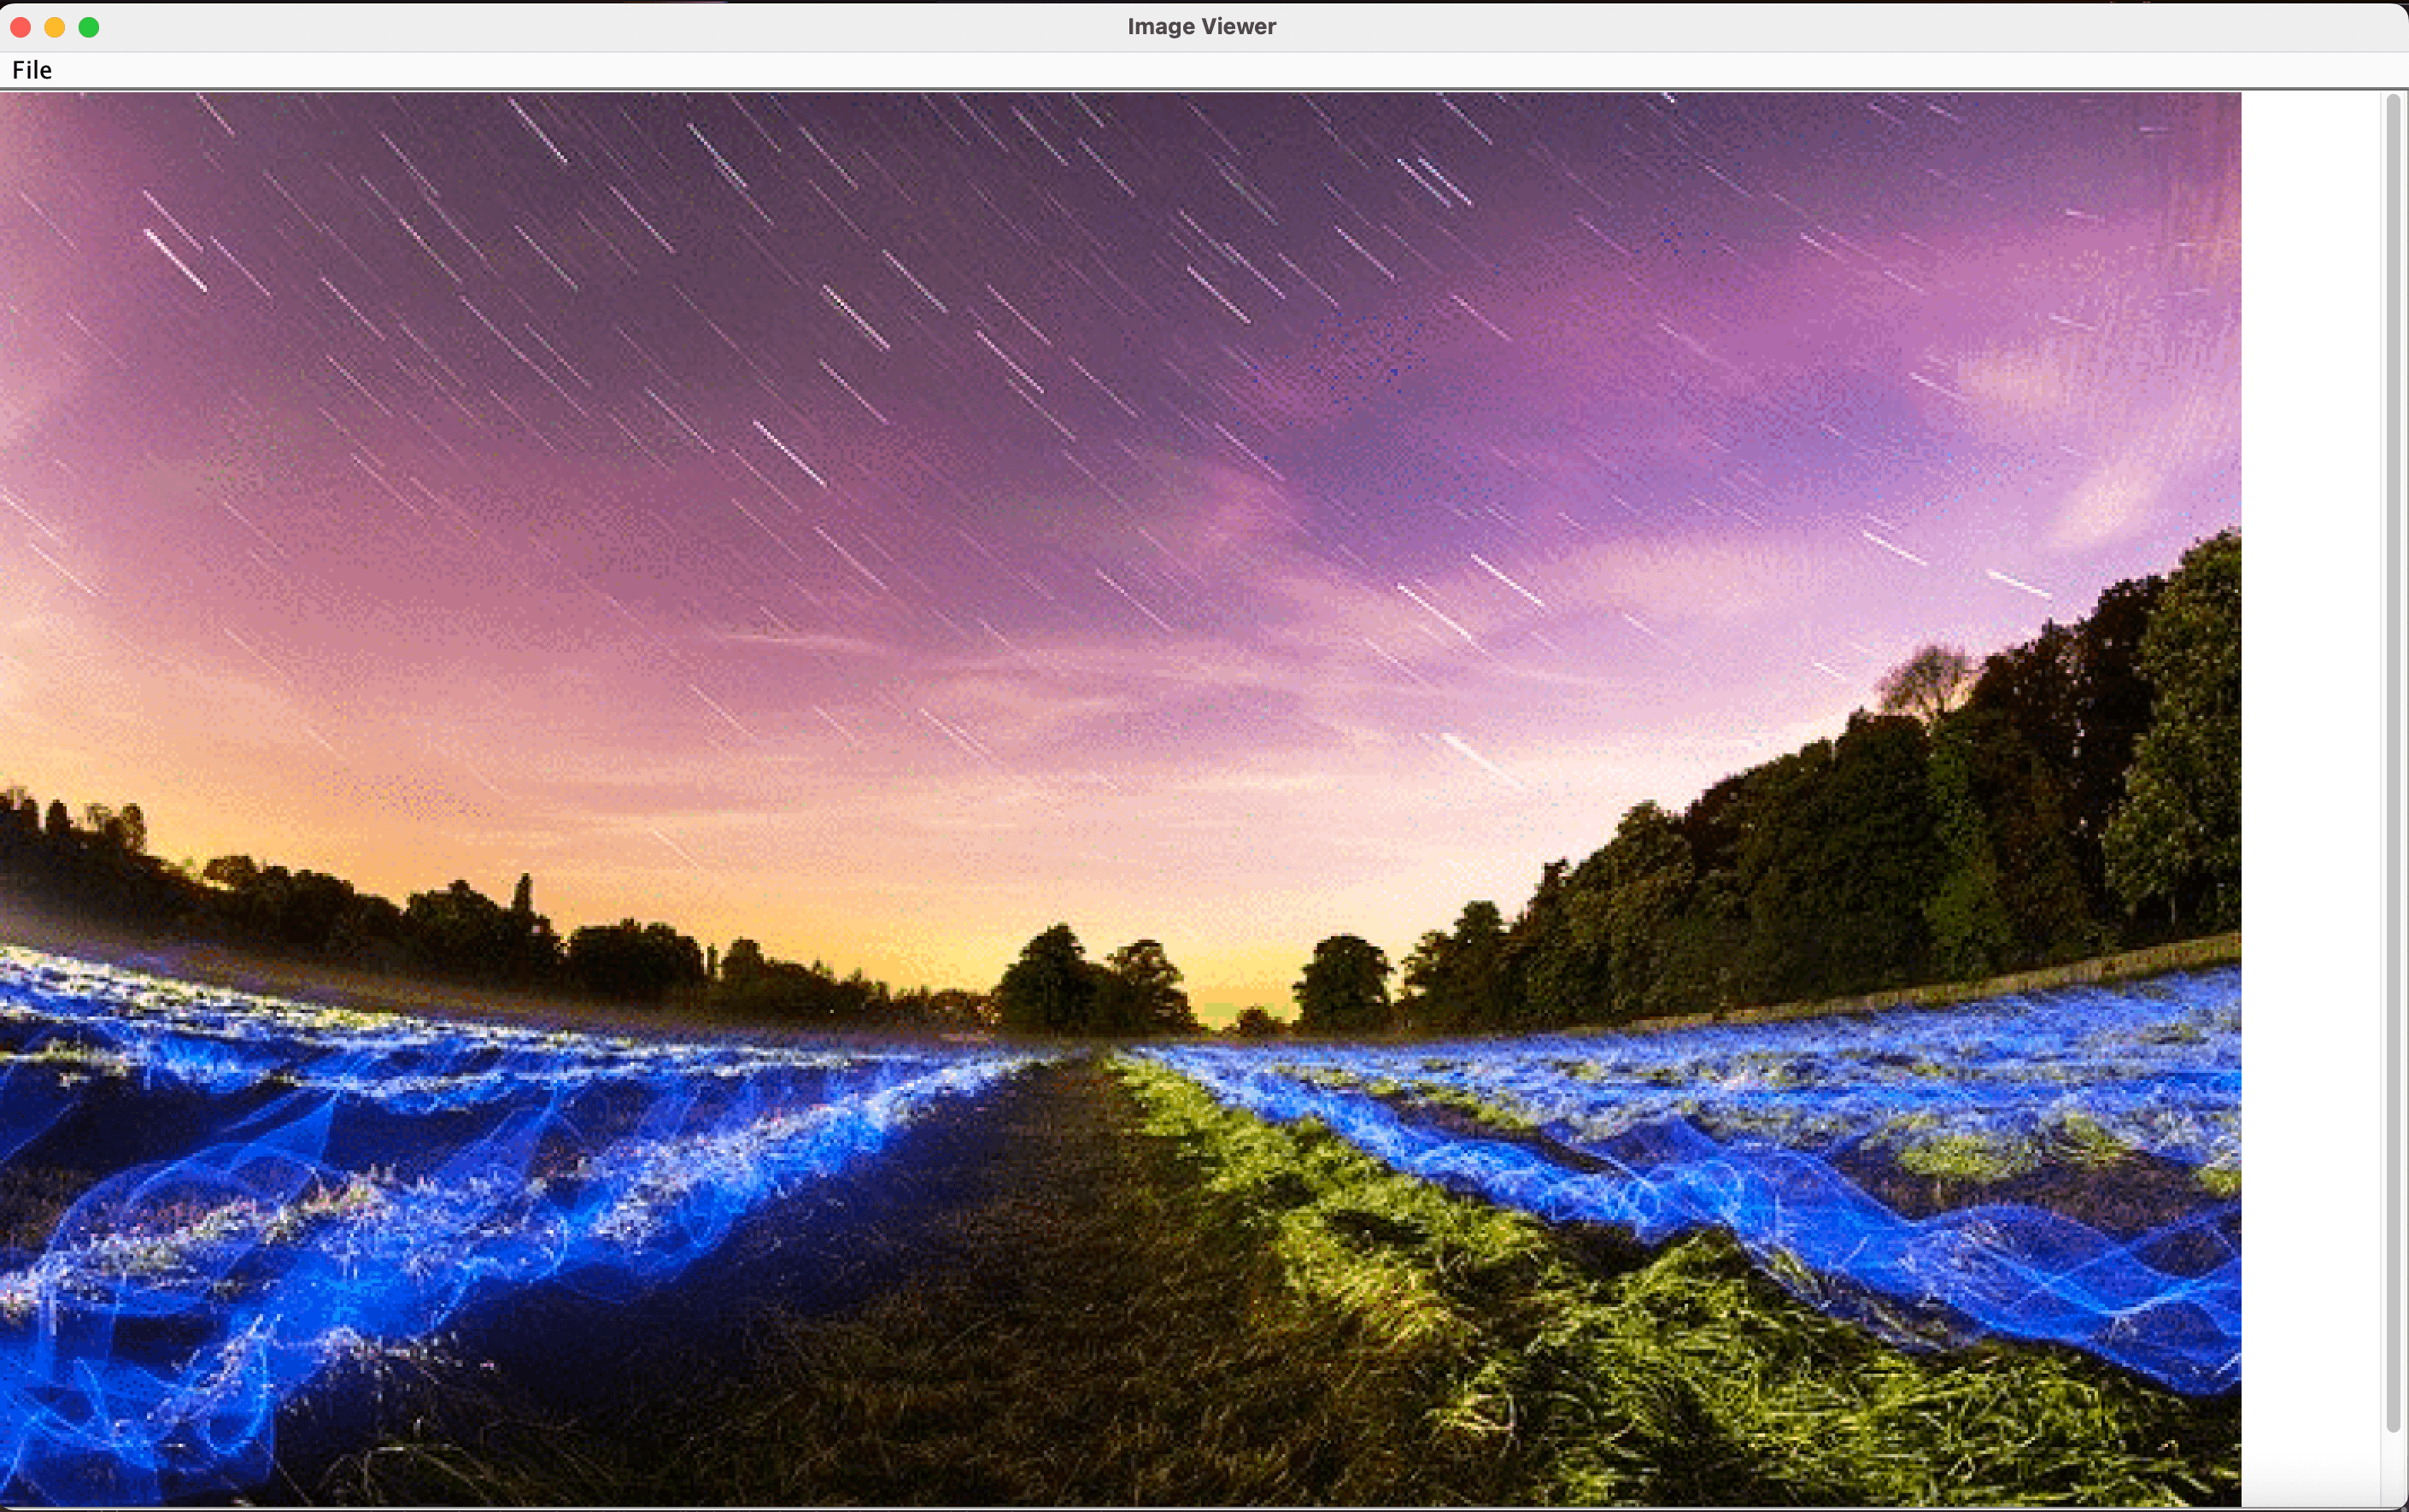
Next steps
Once you have images displaying, this is just the start. It is very easy to add processing features, annotations and special effects. If you check out our Java image viewer you will see lots of ideas! If you have any cool suggestions, please do post your ideas and I may well write a follow-up.
As experienced Java developers, we help you work with images in Java and bring over a decade of hands-on experience with many image file formats.
Are you a Java Developer working with Image files?
// Read an image
BufferedImage bufferedImage = JDeli.read(avifImageFile);

// Write an image
JDeli.write(bufferedImage, "avif", outputStreamOrFile);
// Read an image
BufferedImage bufferedImage = JDeli.read(dicomImageFile);// Read an image
BufferedImage bufferedImage = JDeli.read(heicImageFile);
// Write an image
JDeli.write(bufferedImage, "heic", outputStreamOrFile);// Read an image
BufferedImage bufferedImage = JDeli.read(jpegImageFile);
// Write an image
JDeli.write(bufferedImage, "jpeg", outputStreamOrFile);
// Read an image
BufferedImage bufferedImage = JDeli.read(jpeg2000ImageFile);

// Write an image
JDeli.write(bufferedImage, "jpx", outputStreamOrFile);
// Write an image
JDeli.write(bufferedImage, "pdf", outputStreamOrFile);
// Read an image
BufferedImage bufferedImage = JDeli.read(pngImageFile);

// Write an image
JDeli.write(bufferedImage, "png", outputStreamOrFile);
// Read an image
BufferedImage bufferedImage = JDeli.read(tiffImageFile);

// Write an image
JDeli.write(bufferedImage, "tiff", outputStreamOrFile);
// Read an image
BufferedImage bufferedImage = JDeli.read(webpImageFile);

// Write an image
JDeli.write(bufferedImage, "webp", outputStreamOrFile);
What is JDeli?
JDeli is a commercial Java Image library that is used to read, write, convert, manipulate and process many different image formats.
Why use JDeli?
To handle many well known formats such as JPEG, PNG, TIFF as well as newer formats like AVIF, HEIC and JPEG XL in java with no calls to any external system or third party library.
What licenses are available?
We have 3 licenses available:
Server for on premises and cloud servers, Distribution for use in a named end user applications, and Custom for more demanding requirements.
How does JDeli compare?
We work hard to make sure JDeli performance is better than or similar to other java image libraries. Check out our benchmarks to see just how well JDeli performs.