Recently at IDR Solutions, I have been working on converting our existing Ant NetBeans plugin to Maven. In order to do so I had to find a way to host the dependencies we ship with the plugin on a Remote or Central Repository.
What is Ant and Maven
Both, Ant and Maven are java build tools. Ant is an imperative build System (instruct Ant what to do i.e explicitly script all targets that makes up the build ) where as Maven is declarative(what we would like the end result of the build to i.e jar or war and it does just that, you do not have to explicitly specify the execution units. )
Why we converted from Ant to Maven
In our previous Ant plugin,the developer had to manually search, download and install the jars each time we update, wheres as in Maven you just have to specify the location of the jar in an xml file (Project Object Model or POM ) and the jars will be automatically downloaded and added as a dependency to the project.
In this article, I will show you step by step how to create a GitHub account and host your Maven artifact on it.
Prerequisites
- You need to have git installed. You can get git from here
- You need to have maven installed. You can get maven from here
- You need to have your jar or war file to be hosted ready
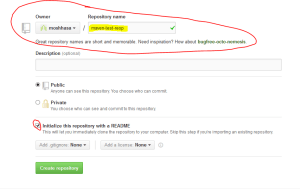
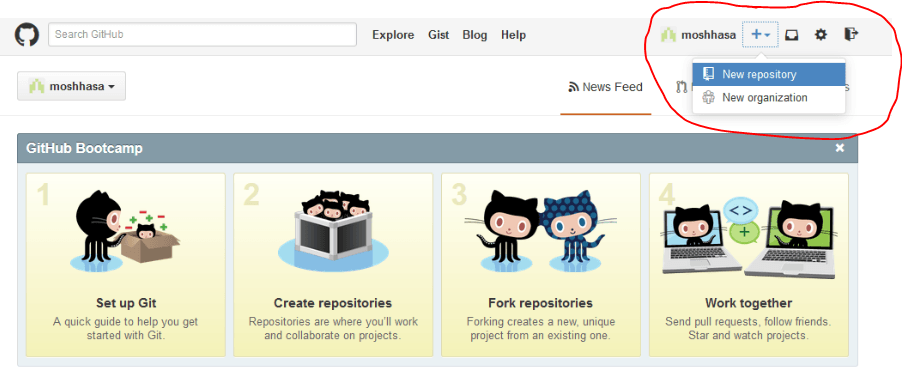
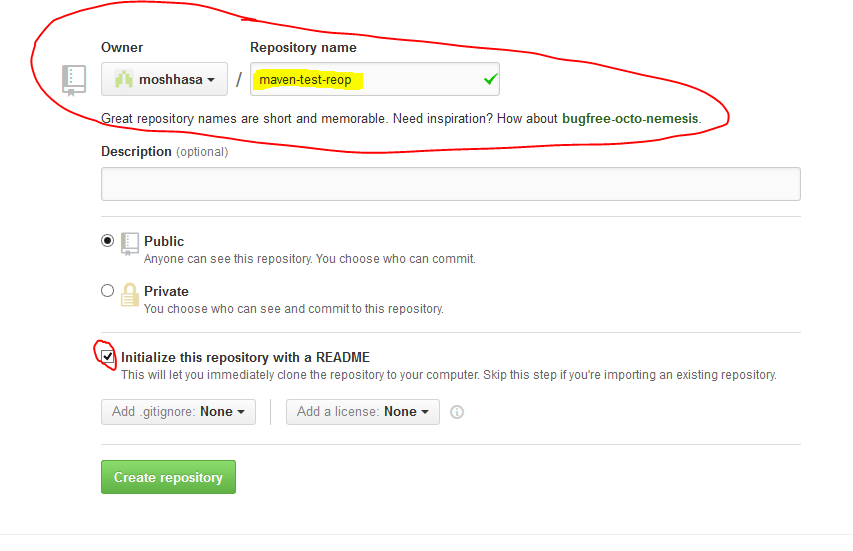
- Create a new GitHub Repository and select Initialize with ReadMe. I will call mine maven-test-repo.Create a GitHub account if you don’t have already one. Click here to create one.

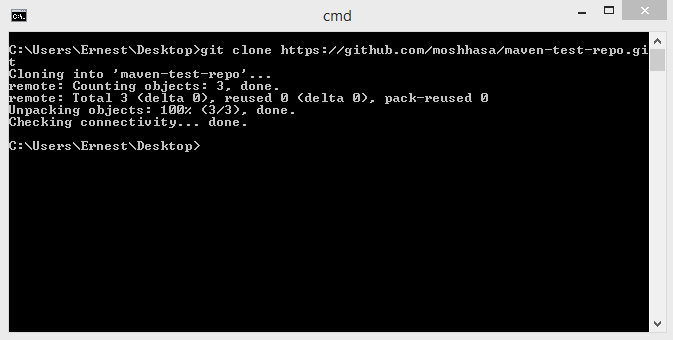
- Clone the GitHub Repository you just created to your desktop (or any preferred location). To do this open command line/Terminal and type in git and enter. If you see something like my screenshot, you are good to go else you need to check your git installation.
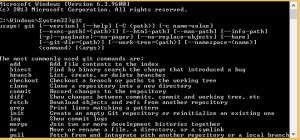
git clone {your-github-maven repository}. In my case this will begit clone https://github.com/moshhasa/maven-test-repo.git
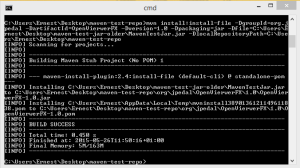
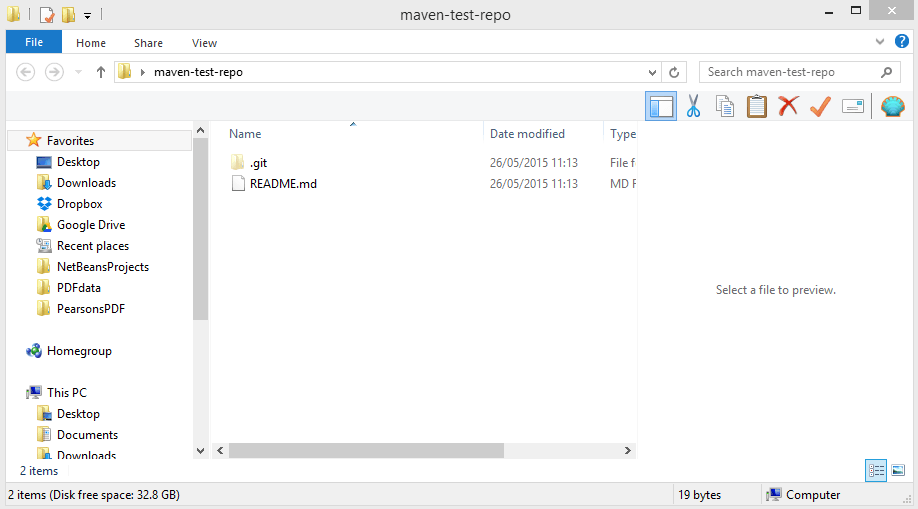
- We need to place the jar we want to host on GitHub remote repository into our local GitHub repository. We will use maven to perform this task. On command/Terminal, navigate to the local GitHub repository you cloned earlier on. Type in mvn and hit enter. If you do not see something like my screenshot below, you need check your maven installation.
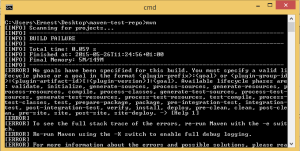
mvn install:install-file -DgroupId=[group-id] -DartifactId=[artifact-id] -Dversion=[version] -Dpackaging=[packaging-format]-Dfile=[path-to-file] -DlocalRepositoryPath=[path-to-the-cloned-repository]
Im mycase this will be
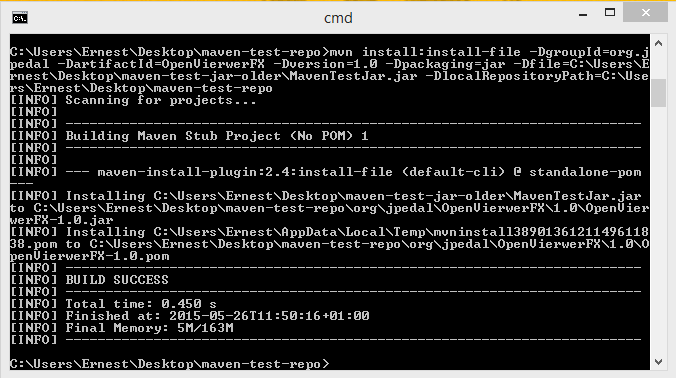
mvn install:install-file -DgroupId=org.jpedal -DartifactId=OpenVierwerFX -Dversion=1.0 -Dpackaging=jar -Dfile=C:\Users\Ernest\Desktop\maven-test-jar-older\MavenTestJar.jar -DlocalRepositoryPath=C:\Users\Ernest\Desktop\maven-test-repo
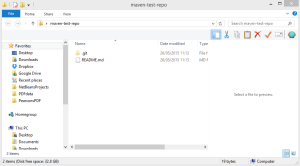
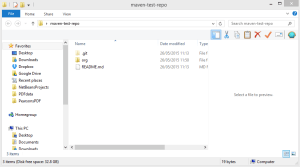
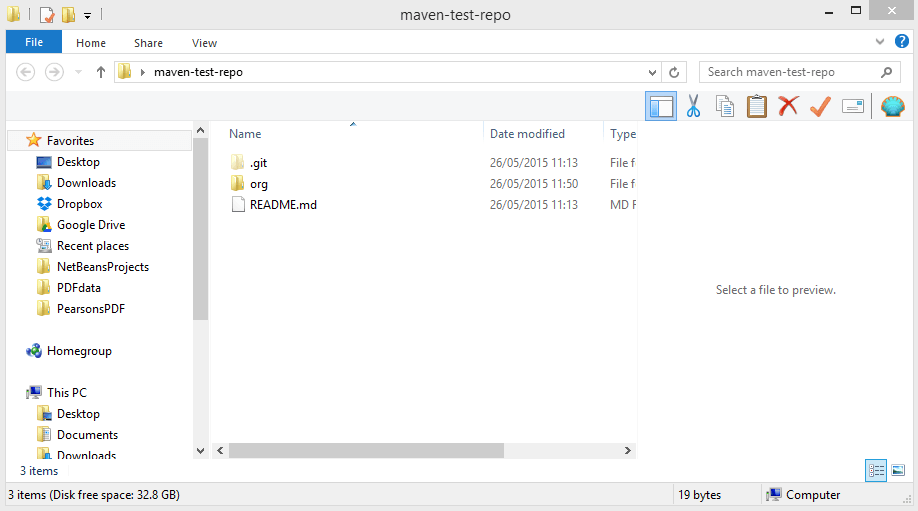
You should see this on you command Line/Terminal. Also if you check in you local GitHub repository you should see some generated files in there.
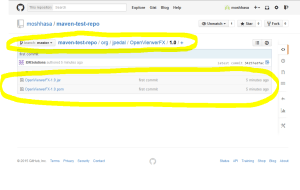
- Now we are in the position to push to our GitHub remote repository. Commit and Push the changes of the local repository to the remote repository.
git add "name of generated folder" (in my case git add org) then enter
git commit -m "Sensible commit message"
git push -u origin master
Enter you login credentials and hit enter. Now go to GitHub and Voila!! you have successfully uploaded your first Maven artifact on GitHub.


Our software libraries allow you to
| Convert PDF to HTML in Java |
| Convert PDF Forms to HTML5 in Java |
| Convert PDF Documents to an image in Java |
| Work with PDF Documents in Java |
| Read and Write AVIF, HEIC, WEBP and other image formats |
Funnily enough there is another article currently being written…
How to load the jar from pom that is being uploaded?
If you want to build/get the jar file then you can use maven package once you have downloaded the source code and it will create the jar file in your project’s target directory.
Hope this helps.