At IDRSolutions, we have a PDFViewer that uses both Swing and JavaFX. In previous JavaFX articles I have shown How to Create Stacked Menus, How to Setup Key Combinations and How to Create a Border Glow Effect all in JavaFX.
In this tutorial, we will be learning how to change the default mouse cursor to different styles and how to get a wait cursor for long operations.
By default, the cursor will be set to a simple pointer. To manipulate the cursor you can access it via the scene using :
scene.setCursor(Cursor.type);
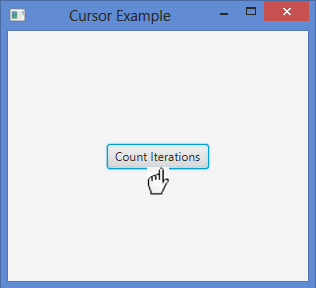
scene.getCursor();Change the Cursor When Entering a Button Area.
I will assume you have a basic understanding of JavaFX and how to set up and add to a Stage.
First, we’re going to code in a MouseEvent which will detect whether the cursor has entered the Buttons area, if it has then we’ll change the cursor to a pointing hand.

button.setOnMouseEntered(new EventHandler() {
    public void handle(MouseEvent me) {
        scene.setCursor(Cursor.HAND); //Change cursor to hand
    }
});
Change the Cursor When Exiting a Button Area.
Next, we’re going to code in a MouseEvent which will detect whether the cursor has exited the Buttons area, if it has then we’ll change the cursor to a crosshair.

button.setOnMouseExited(new EventHandler() {
public void handle(MouseEvent me) {
scene.setCursor(Cursor.CROSSHAIR); //Change cursor to crosshair
}
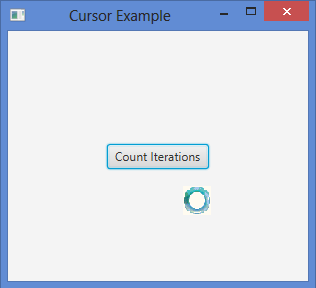
});Change the Cursor for Long Operations / Tasks.
Finally, we’re going to code in an ActionEvent which will trigger when we press the button. This will change the cursor to a wait cursor, perform the long task, then change the cursor back to its default.
button.setOnAction(new EventHandler() {
    @Override
    public void handle(ActionEvent event) {
        Task task = new Task() {
            @Override
            protected Integer call() throws Exception {
                int iterations;
                scene.setCursor(Cursor.WAIT); //Change cursor to wait style
                for (iterations = 0; iterations < 100000; iterations++) {
                    System.out.println("Iteration " + iterations);
                }
                scene.setCursor(Cursor.DEFAULT); //Change cursor to default style
                return iterations;
            }
        };
        Thread th = new Thread(task);
        th.setDaemon(true);
        th.start();
    }
});
Change the Cursor to a Custom Batman Cursor
For a bit of fun, we’re going to customise our cursor by setting our Cursor to an ImageCursor and pass in a Batarang image.
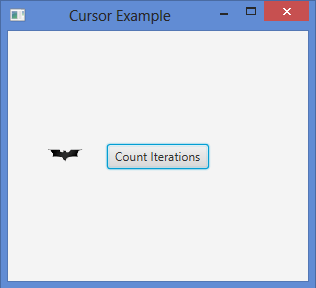
Image image = new Image("batman.png");  //pass in the image path
scene.setCursor(new ImageCursor(image));
With some hope, you can now change your own mouse cursors in your JavaFX Applications and have learned something new! Please let us know below if you have anything to add or wish to leave a comment.
For the code/class we have written in this tutorial please see here: CursorExample
You may find some of my other JavaFX articles of interest :
How to Setup Key Combinations in JavaFX
How to Create Stacked Menus in JavaFX
How to Create a Border Glow Effect in JavaFX
Our software libraries allow you to
| Convert PDF to HTML in Java |
| Convert PDF Forms to HTML5 in Java |
| Convert PDF Documents to an image in Java |
| Work with PDF Documents in Java |
| Read and Write AVIF, HEIC, WEBP and other image formats |
One Reply to “Tutorial : How To Change The Cursor in JavaFX”
Comments are closed.